If you are not a regular reader and you have just landed on this site, to follow the thread of why I am reviewing this antenna you can start reading this note and this other one.
If you don't have time or don't feel like it, I'll summarise it for you. I got this antenna for use with a SDR (software defined radio).
The antenna
The Megaloop MLA-30 is an active antenna for loop or wideband loop reception working between 500KHz and 30 MHz with good response for shortwave and HF.
It is an inexpensive Chinese-made antenna with no known brand name or manufacturer, any of those sold may be a copy of a copy of a copy of a copy.
It is a Chinese design "similar" to the "Megaloop FX" of the"Bonito" brand, but at a price about ten times lower. The actual design is most probably based on the "Active 3-30 MHz Hula-Loop Antenna for Shortwave".
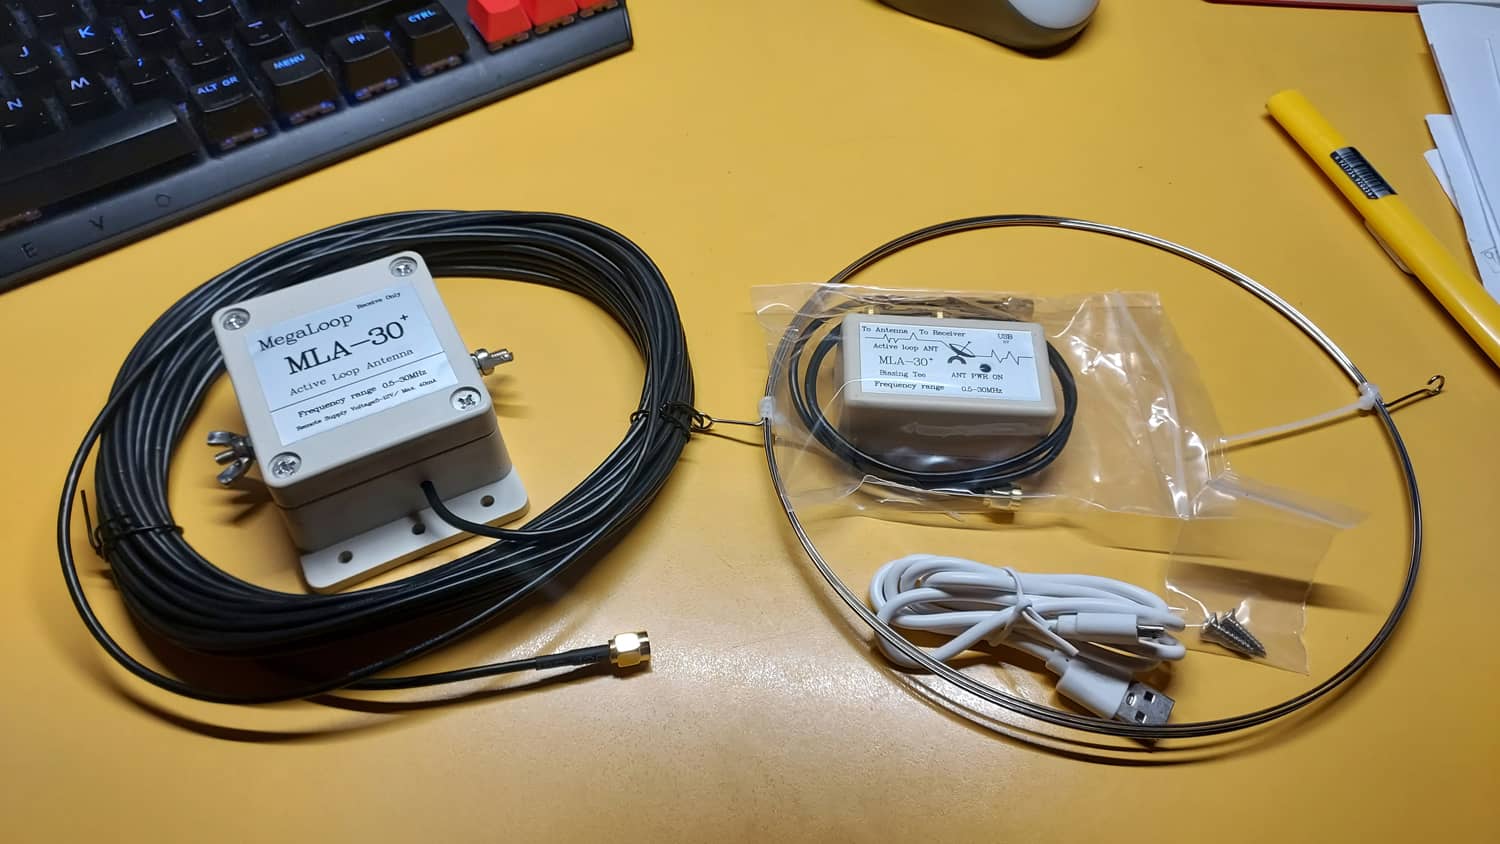
But before we get into the installation, performance, pros and cons, let's take a look at how the product is presented and what you get when you buy it.
Piece by piece
It arrives in a normal package in an anti-static bag with just enough protection to ensure that the parts are unlikely to suffer significant damage in transit.
Includes everything you need to assemble it, no cutting, measuring, adjusting or setting up. Anyone can assemble it in minutes. In fact, it doesn't even come with instructions.
The module with the antenna, which contains the board, is sealed and inside is the board buried in resin to ensure waterproofing if used as a fixed antenna outdoors. Some people have already taken it upon themselves to open it and put the mass in boiling water to dissolve the resin and examine the board. You can see it here.
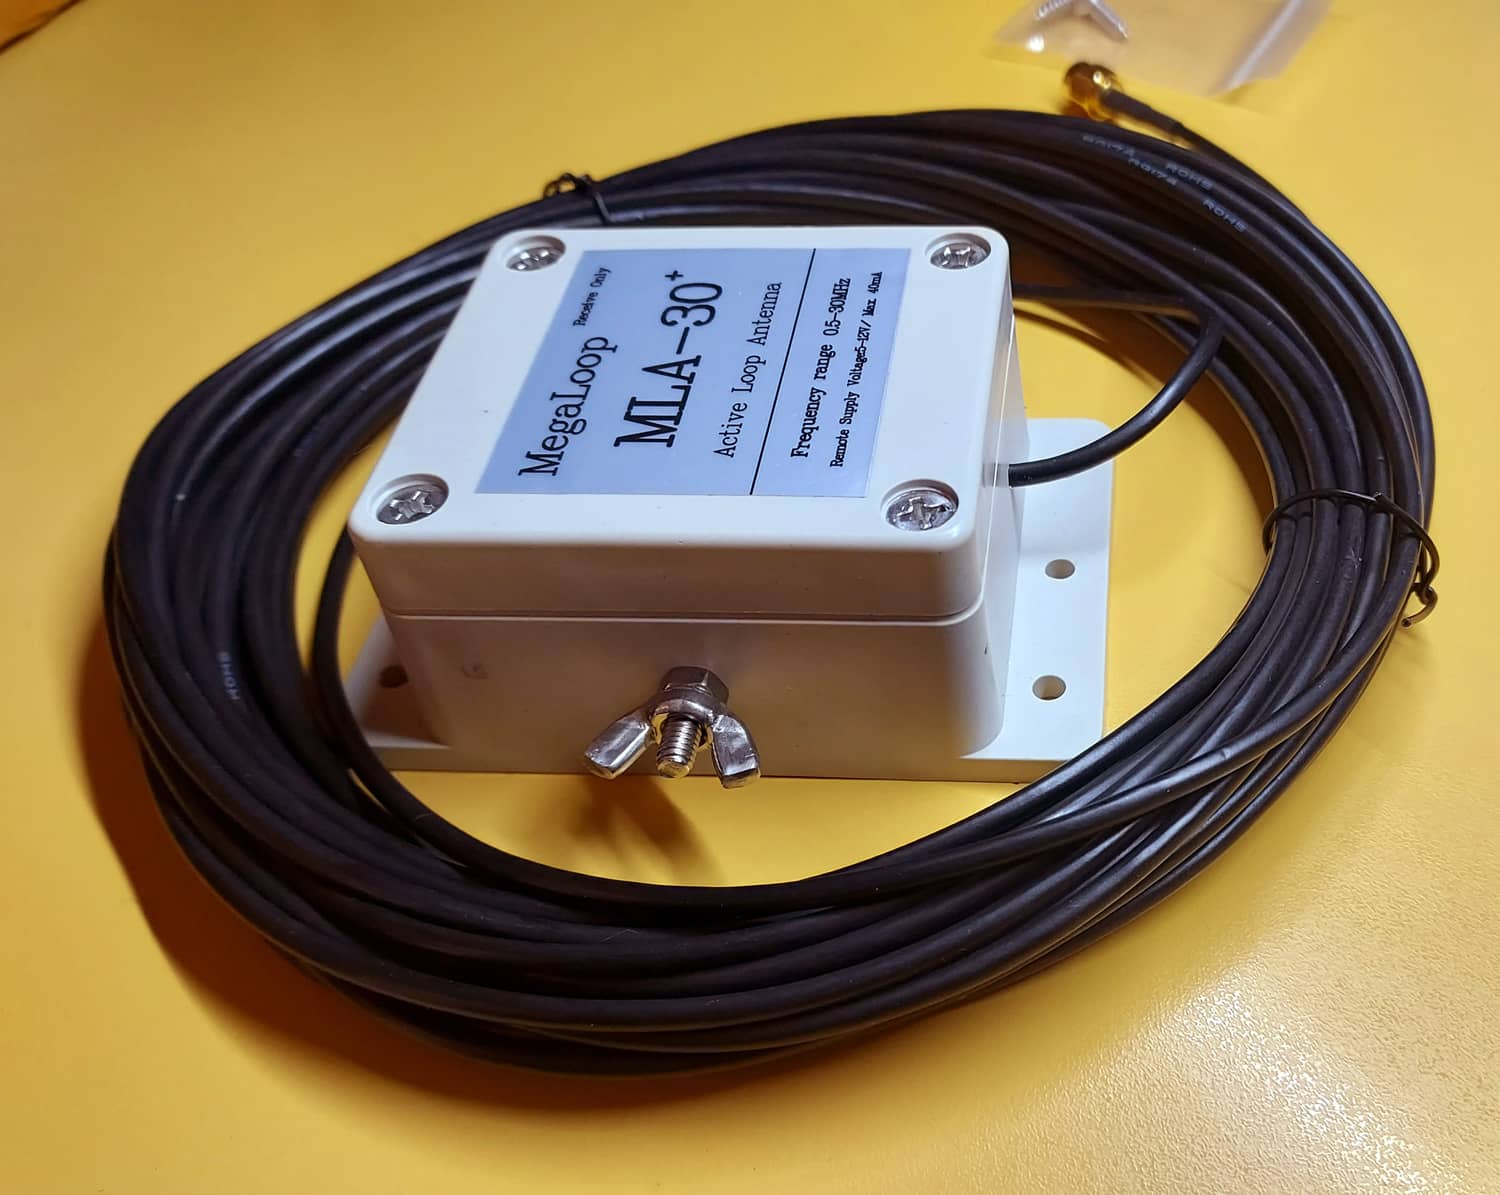
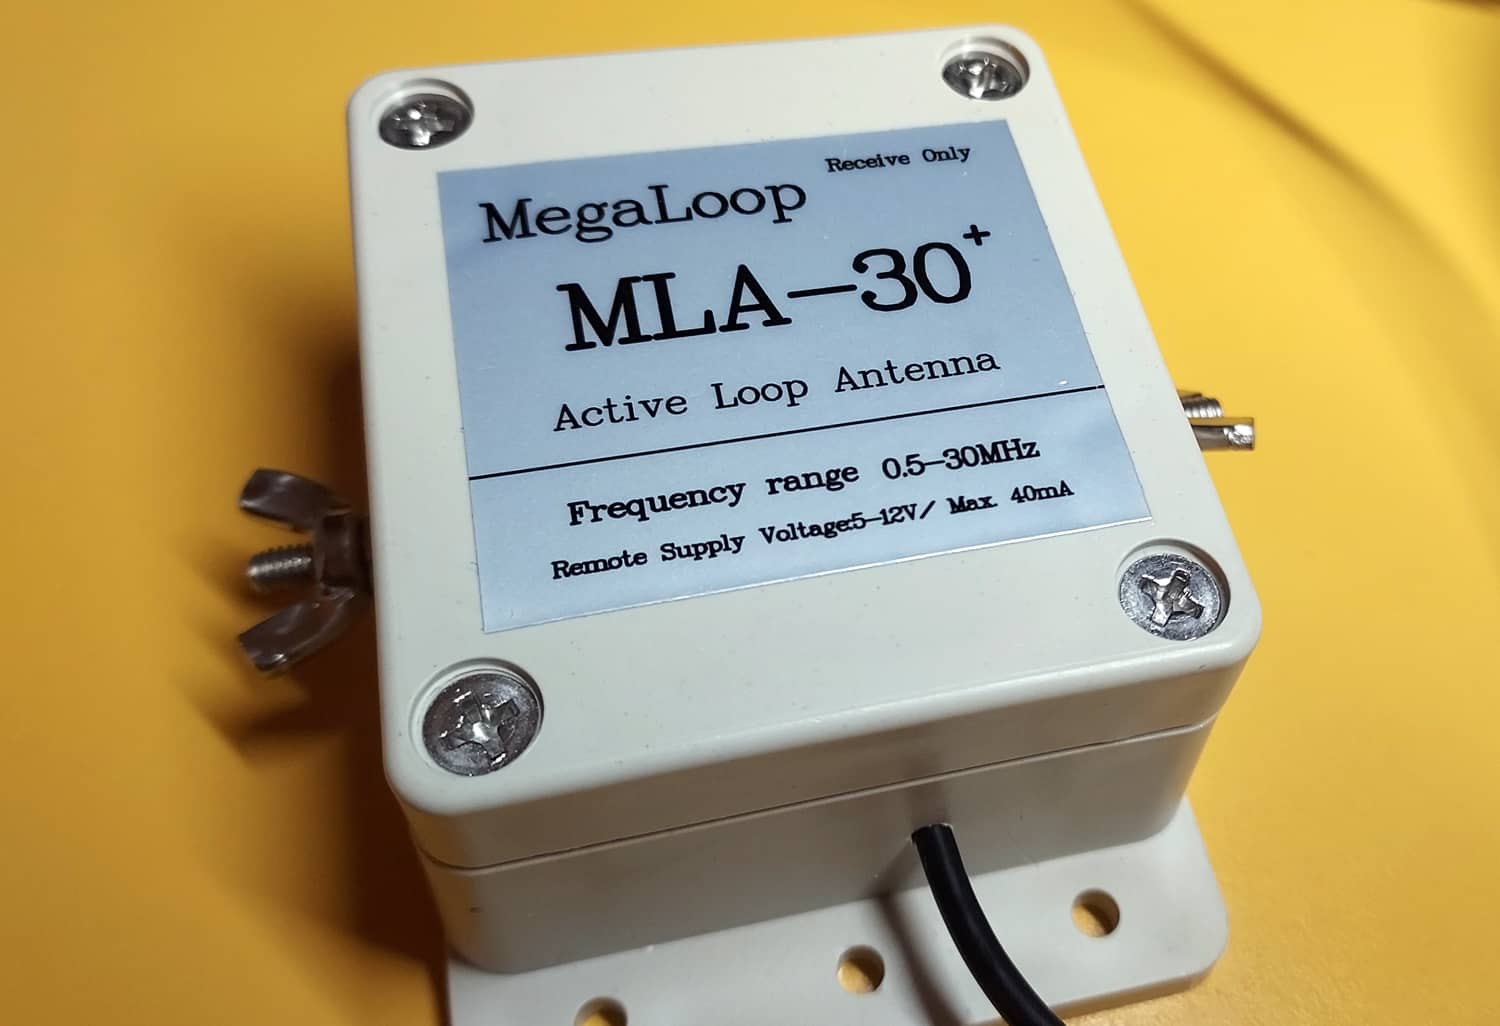
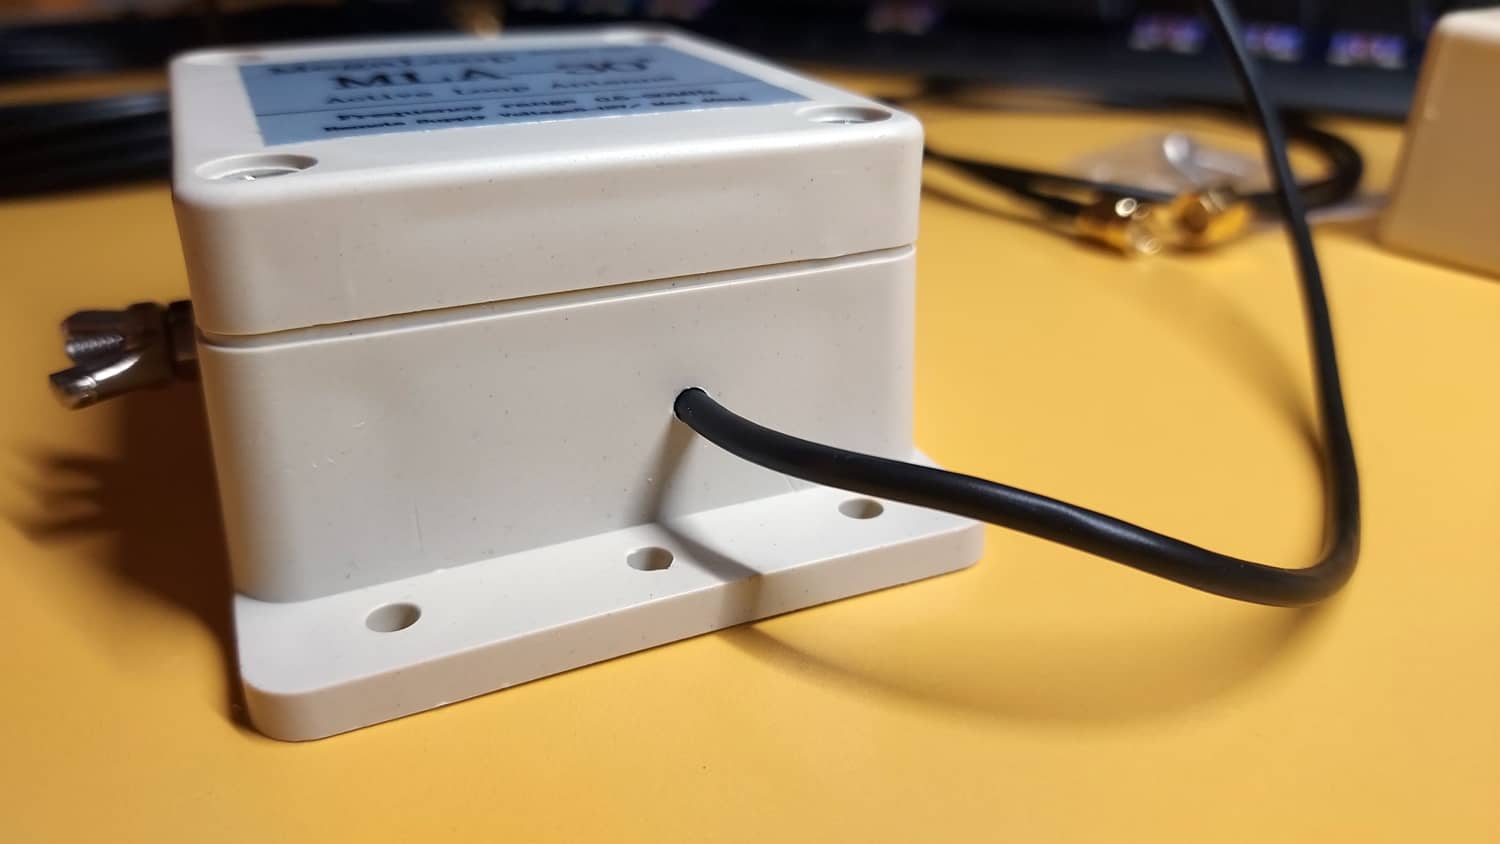
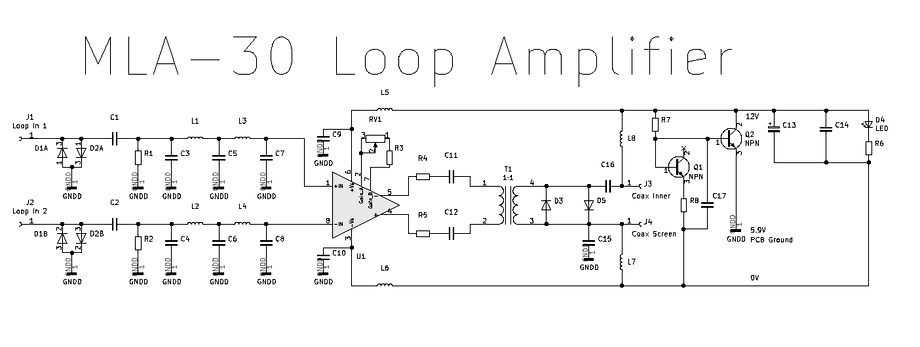
Image courtesy of Matt, M0LMK
It comes with 10 metres of thin RG174 coaxial cable with SMA connector and two wing nuts to attach the ring.
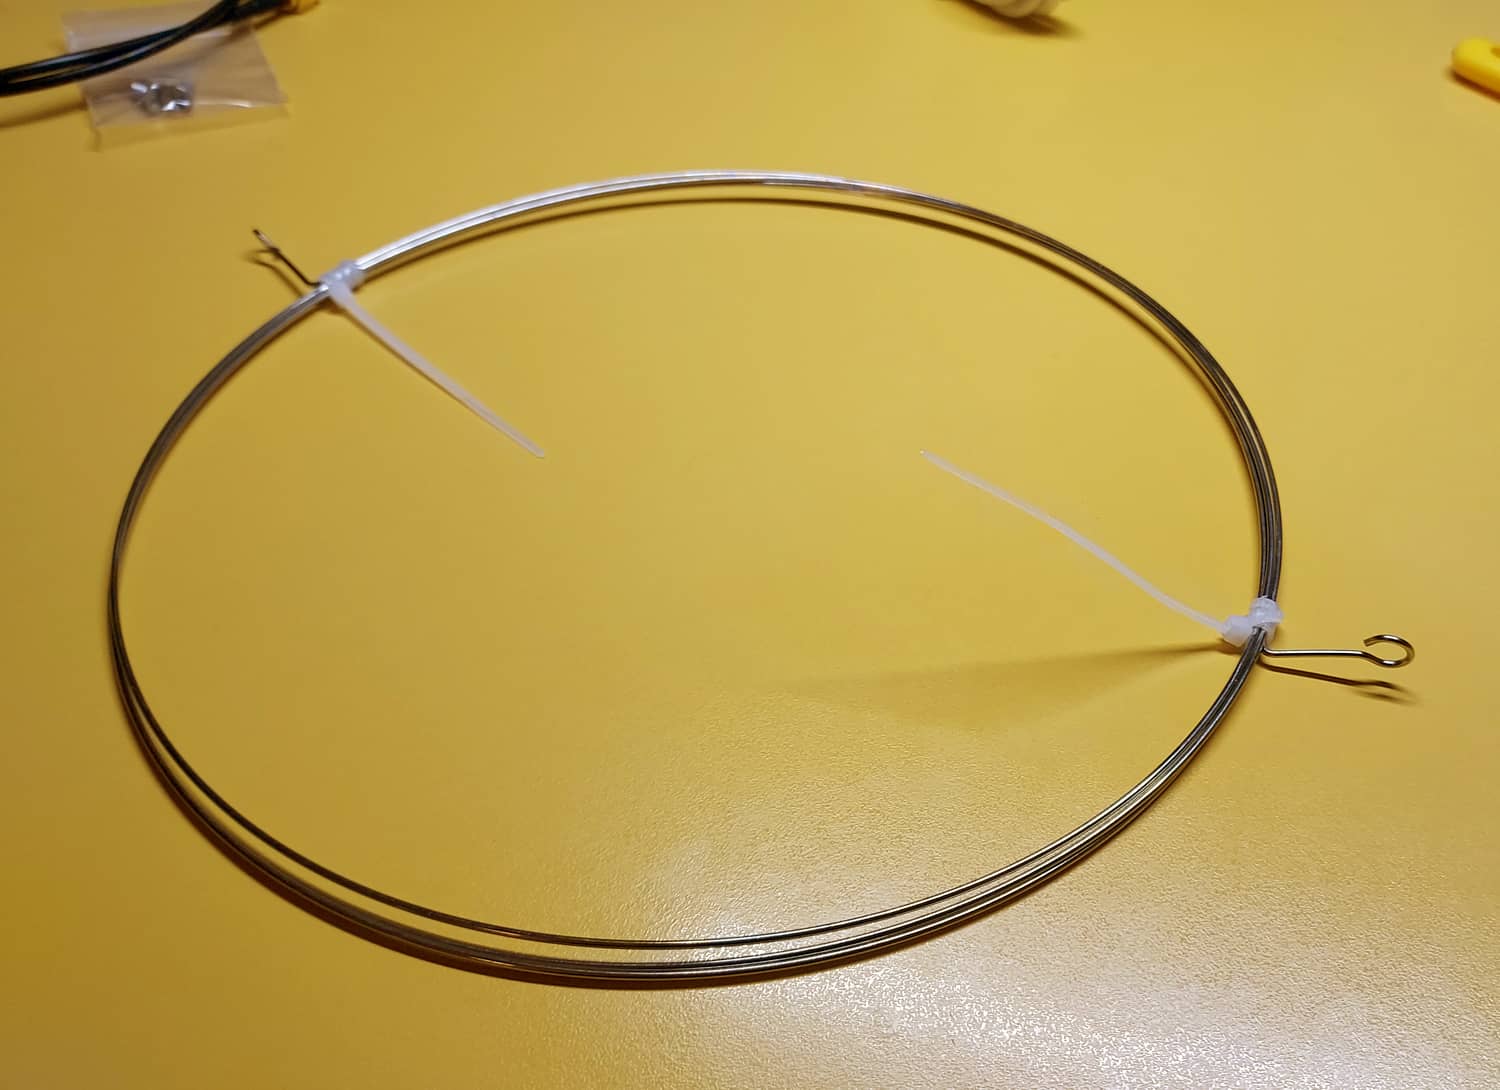
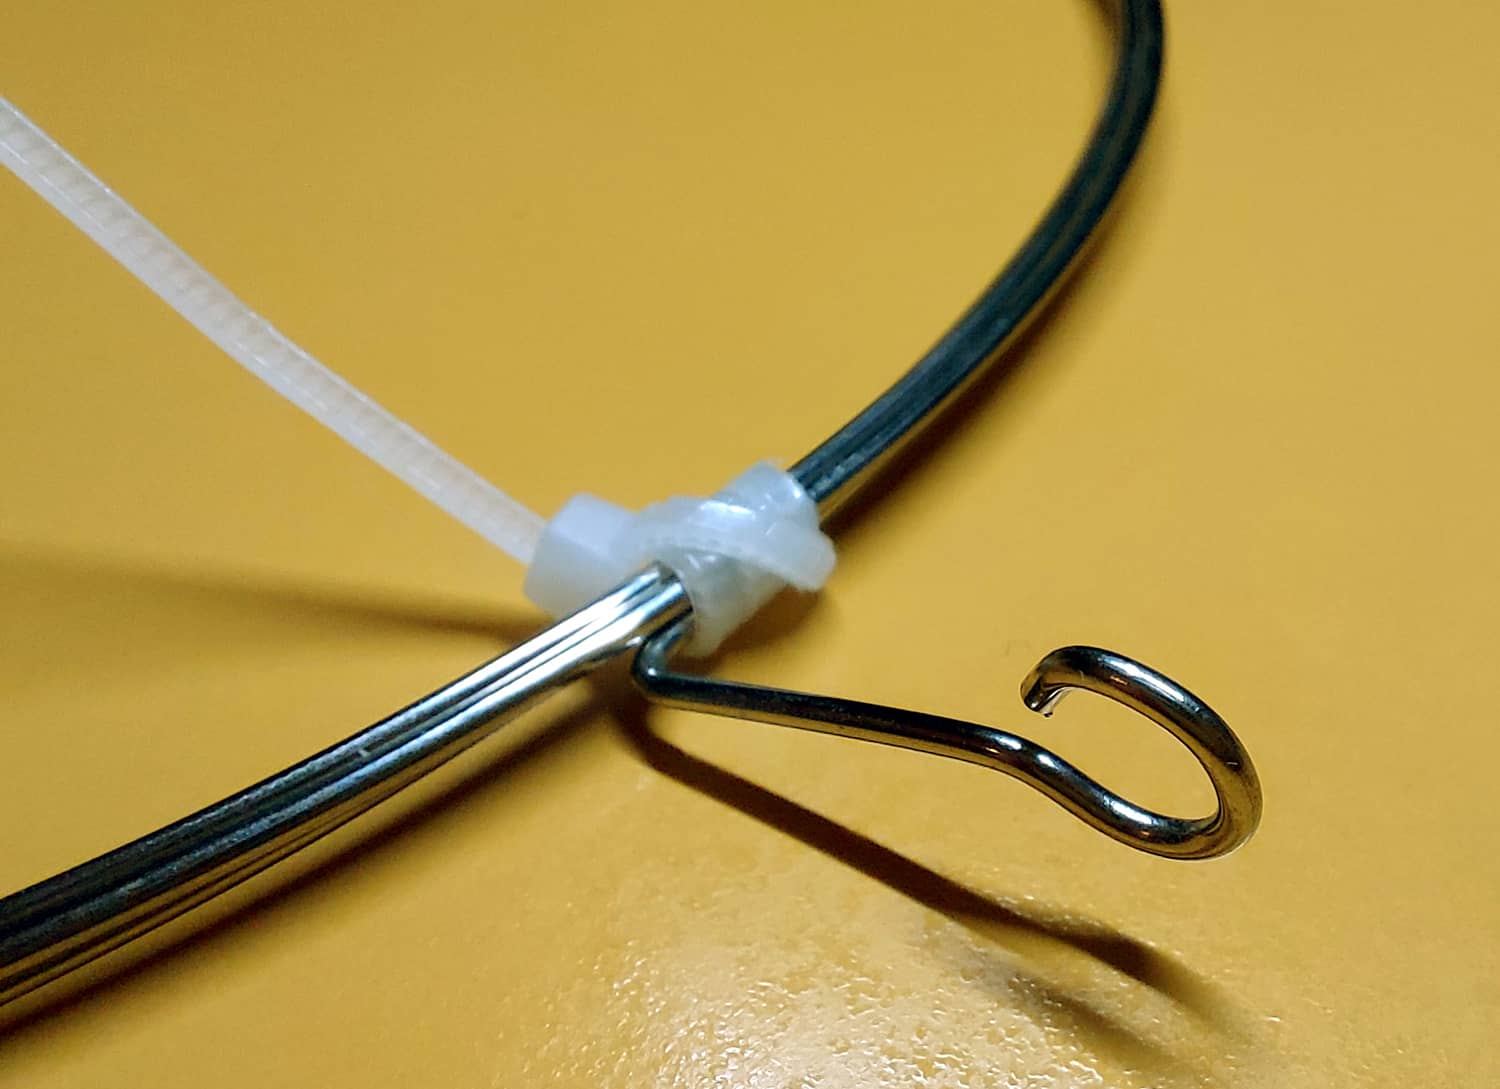
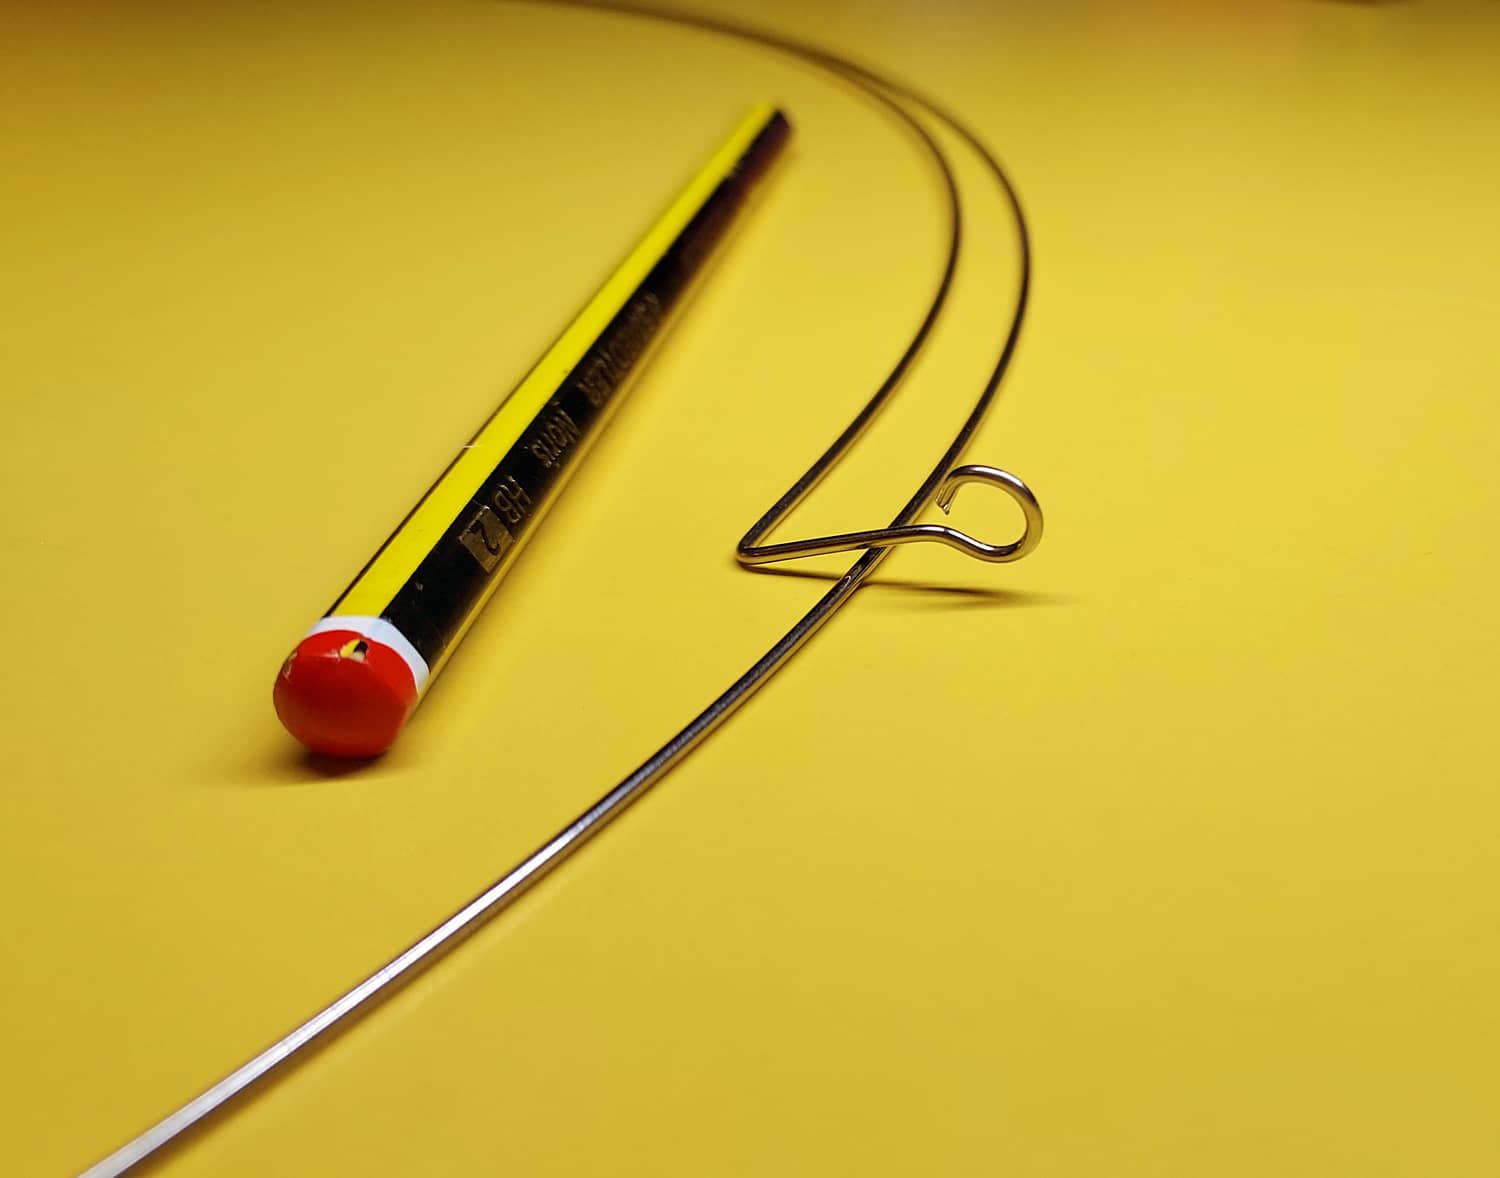
The ring is a thin and light, but very strong stainless steel wire. Once unfolded it forms a circle of about 62-64 cm in diameter
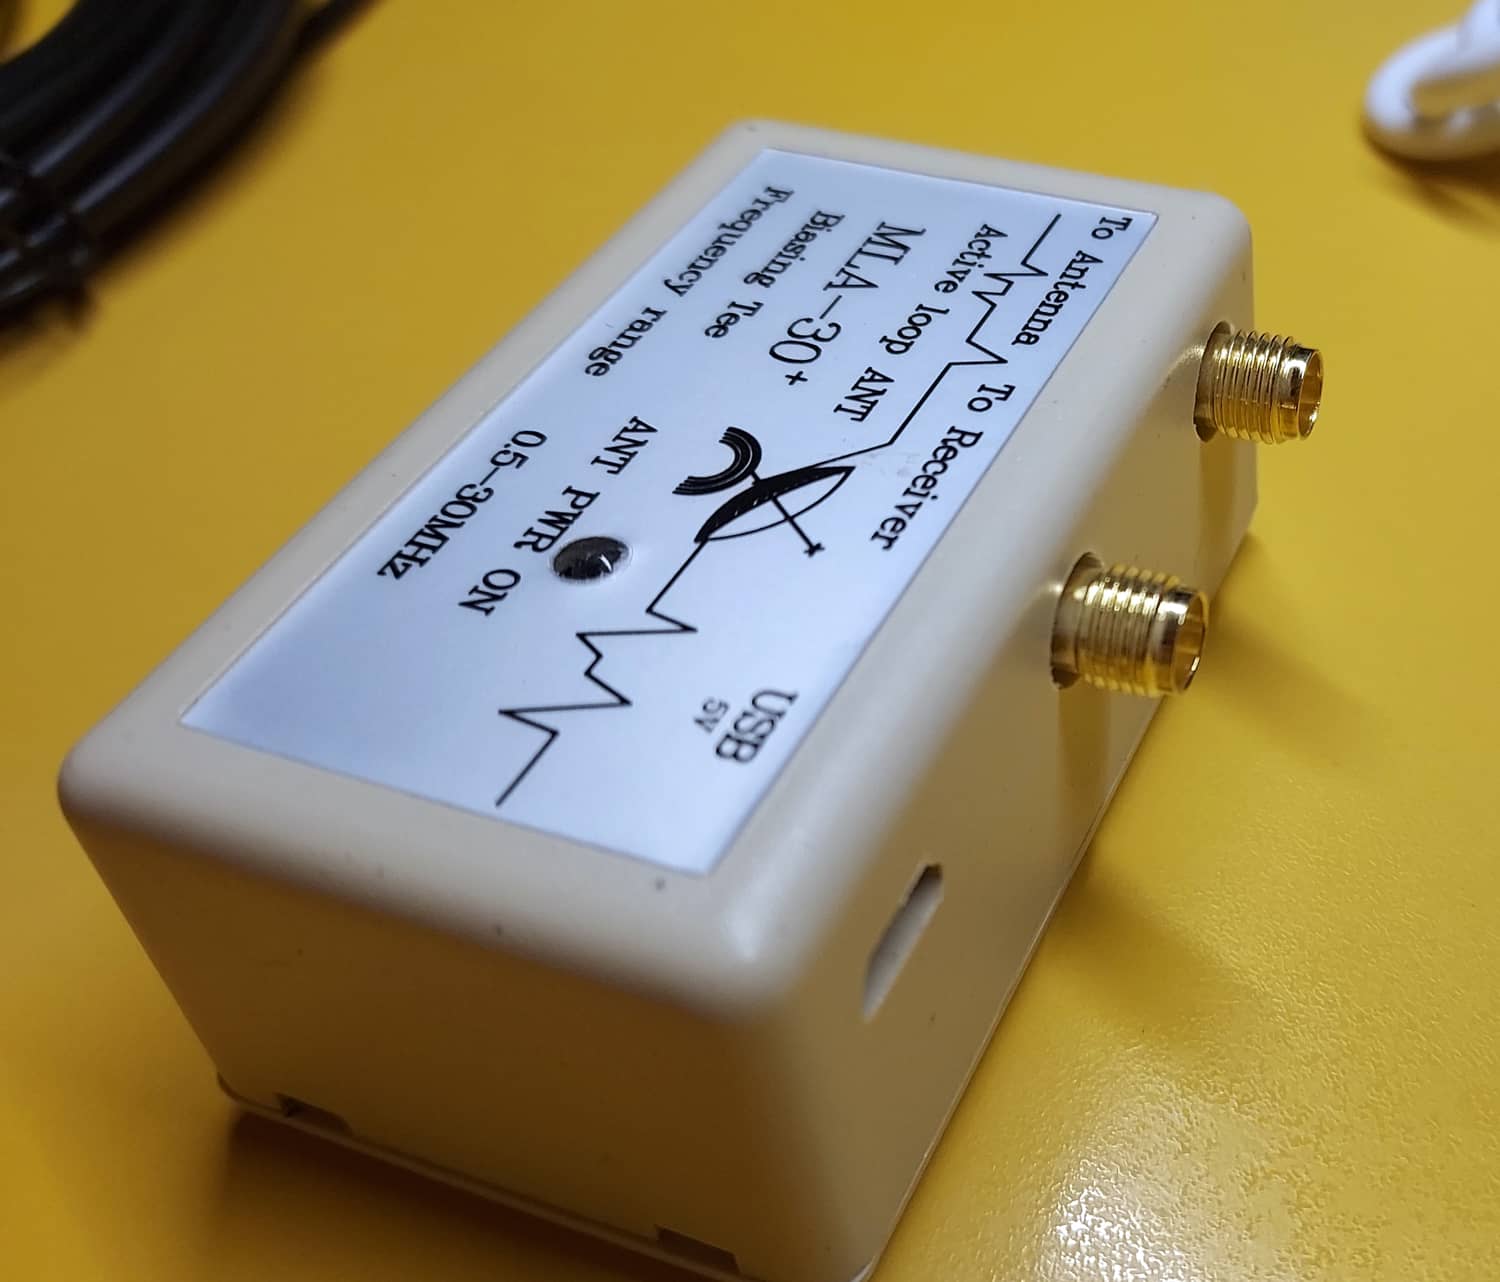
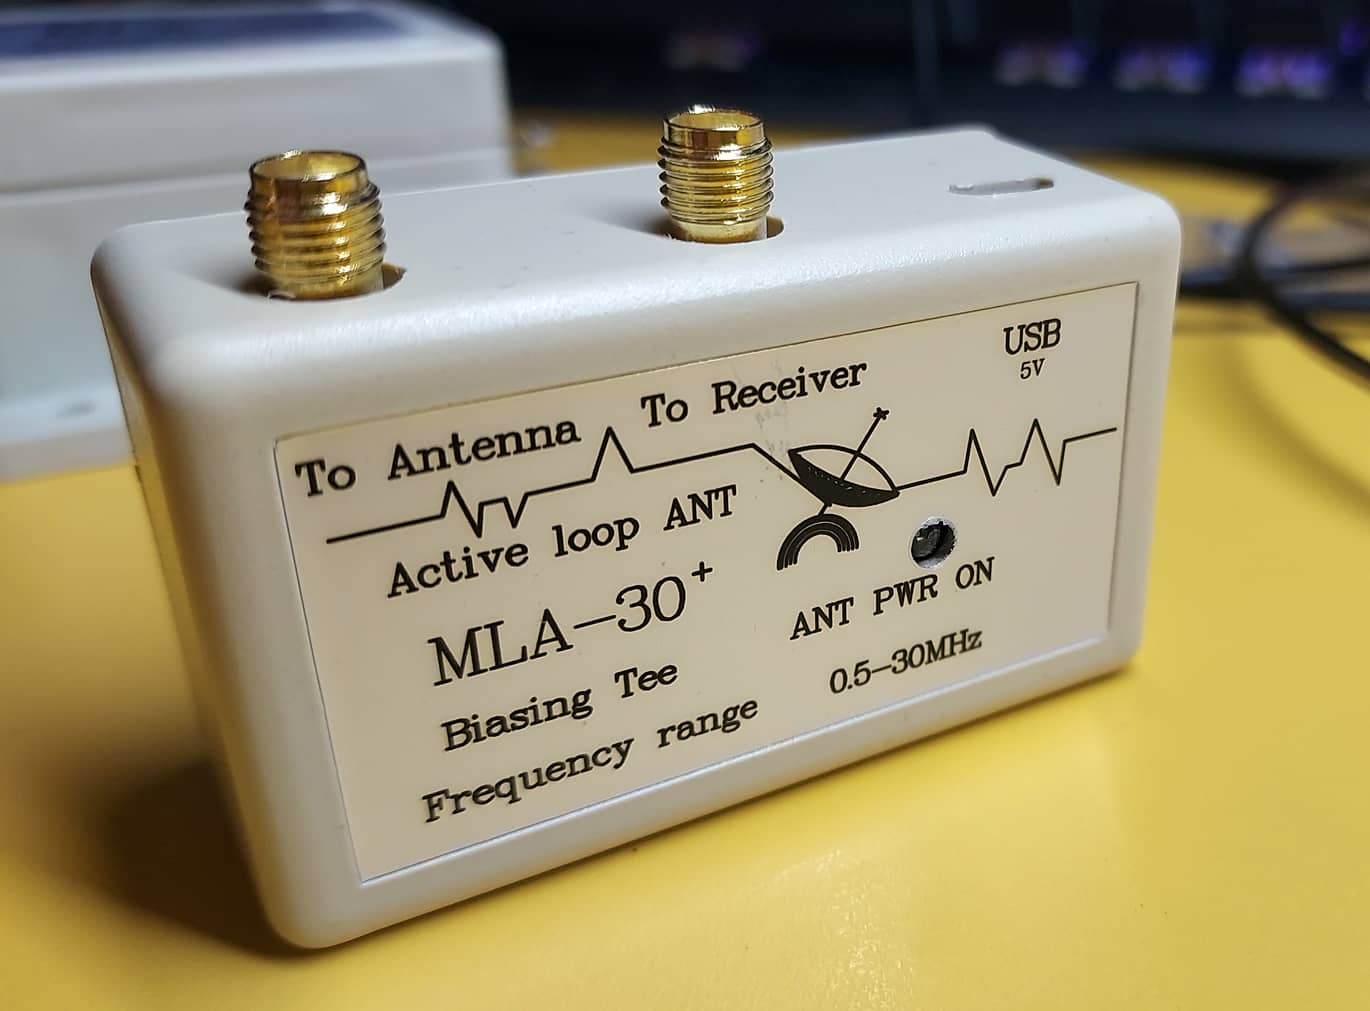
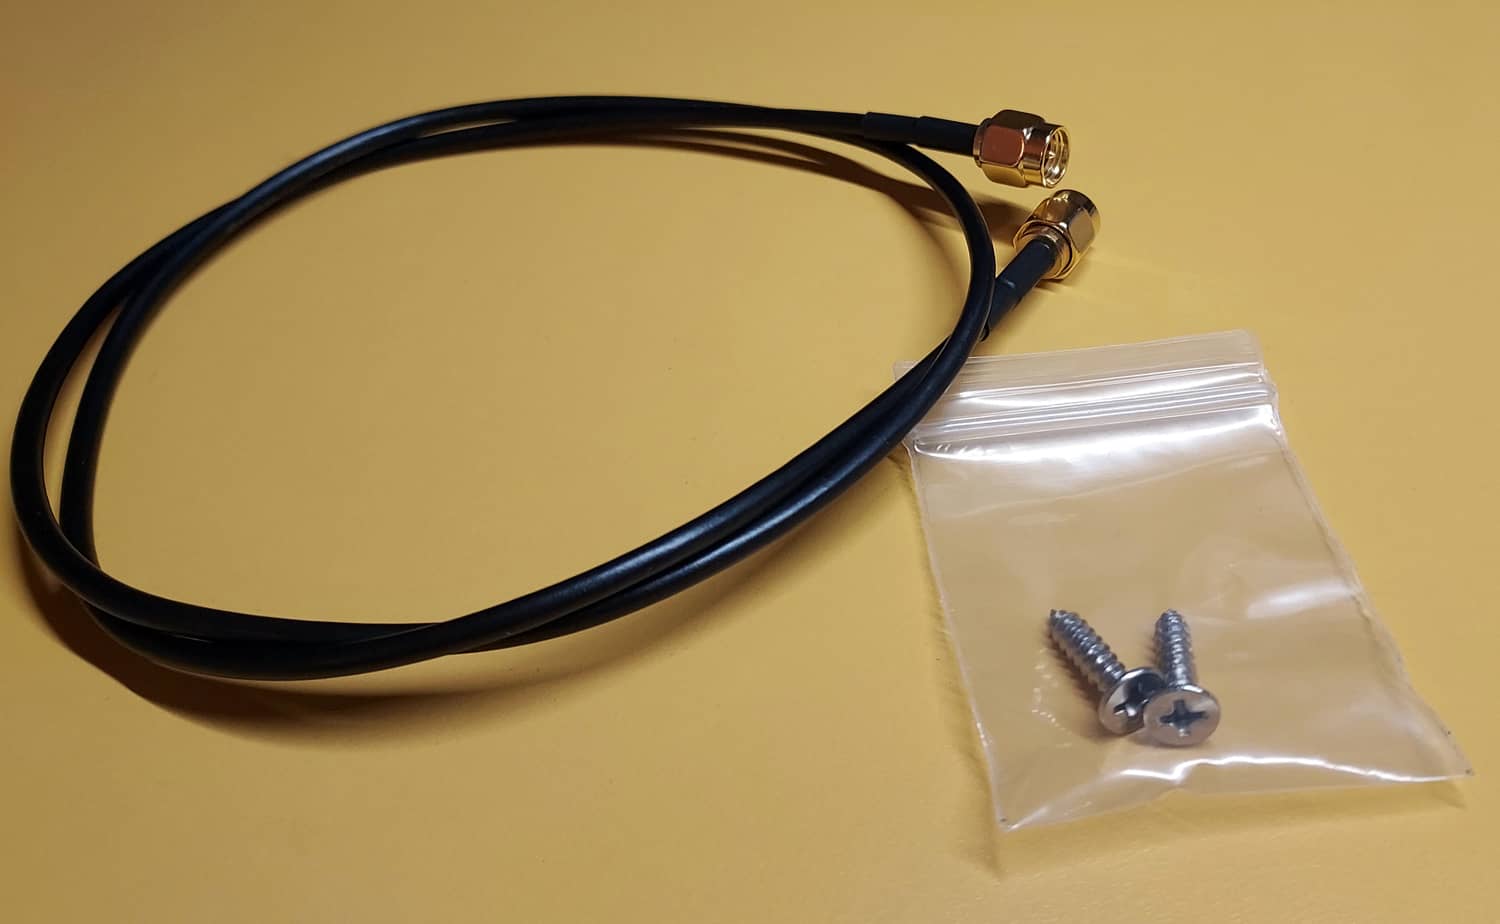
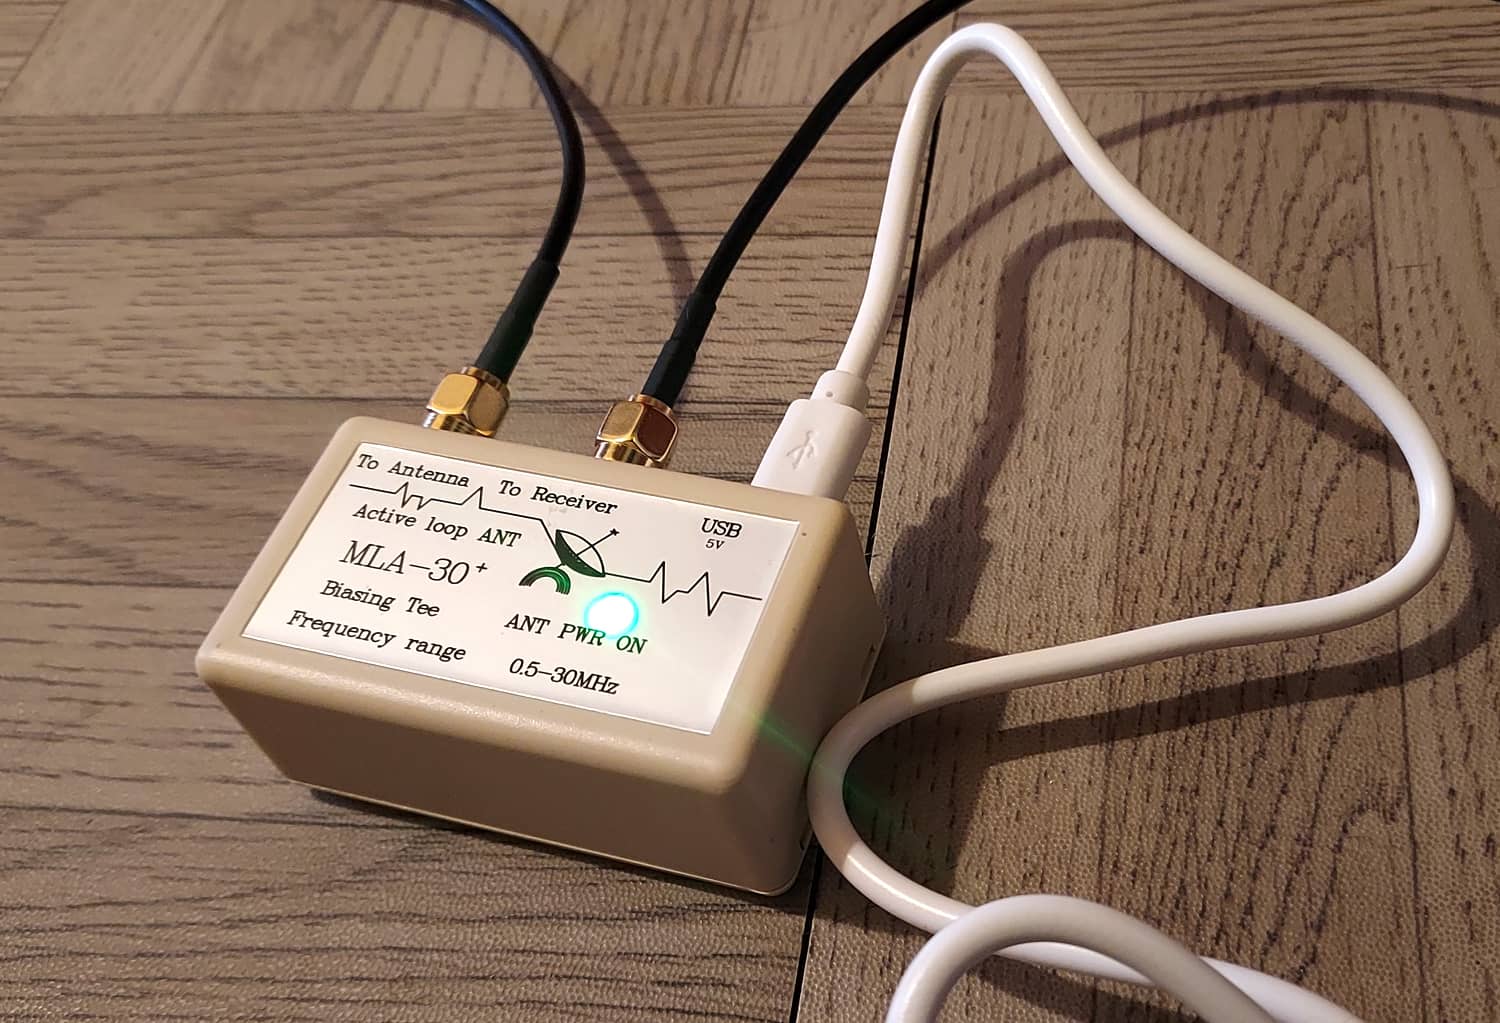
Finally we have the device that will feed the antenna signal amplifier or what is the same, a Bias Tee that sends a direct current through the same coaxial cable, a 60 cm patch cord with SMA connectors and two screws to fix the module to our tube, plus a USB cable to feed the Bias Tee.
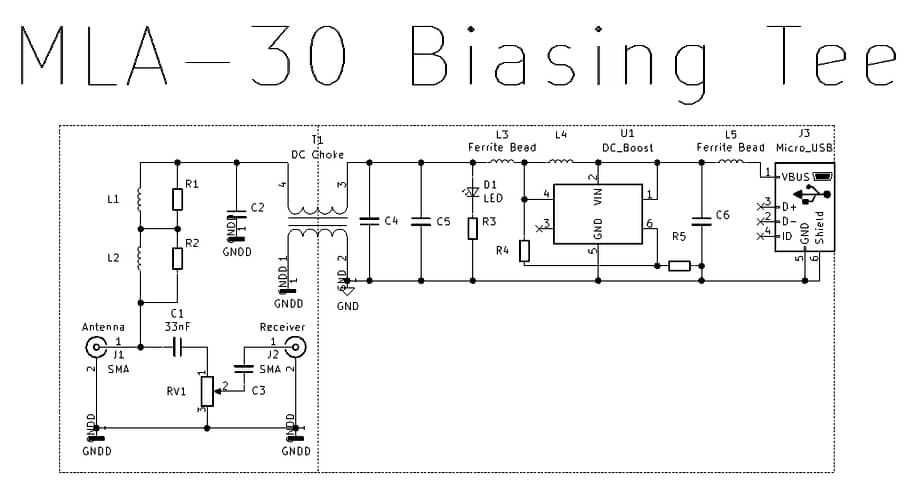
It is based on the Texas TL592B chip, which is a two-stage video amplifier with differential inputs and outputs(Source).
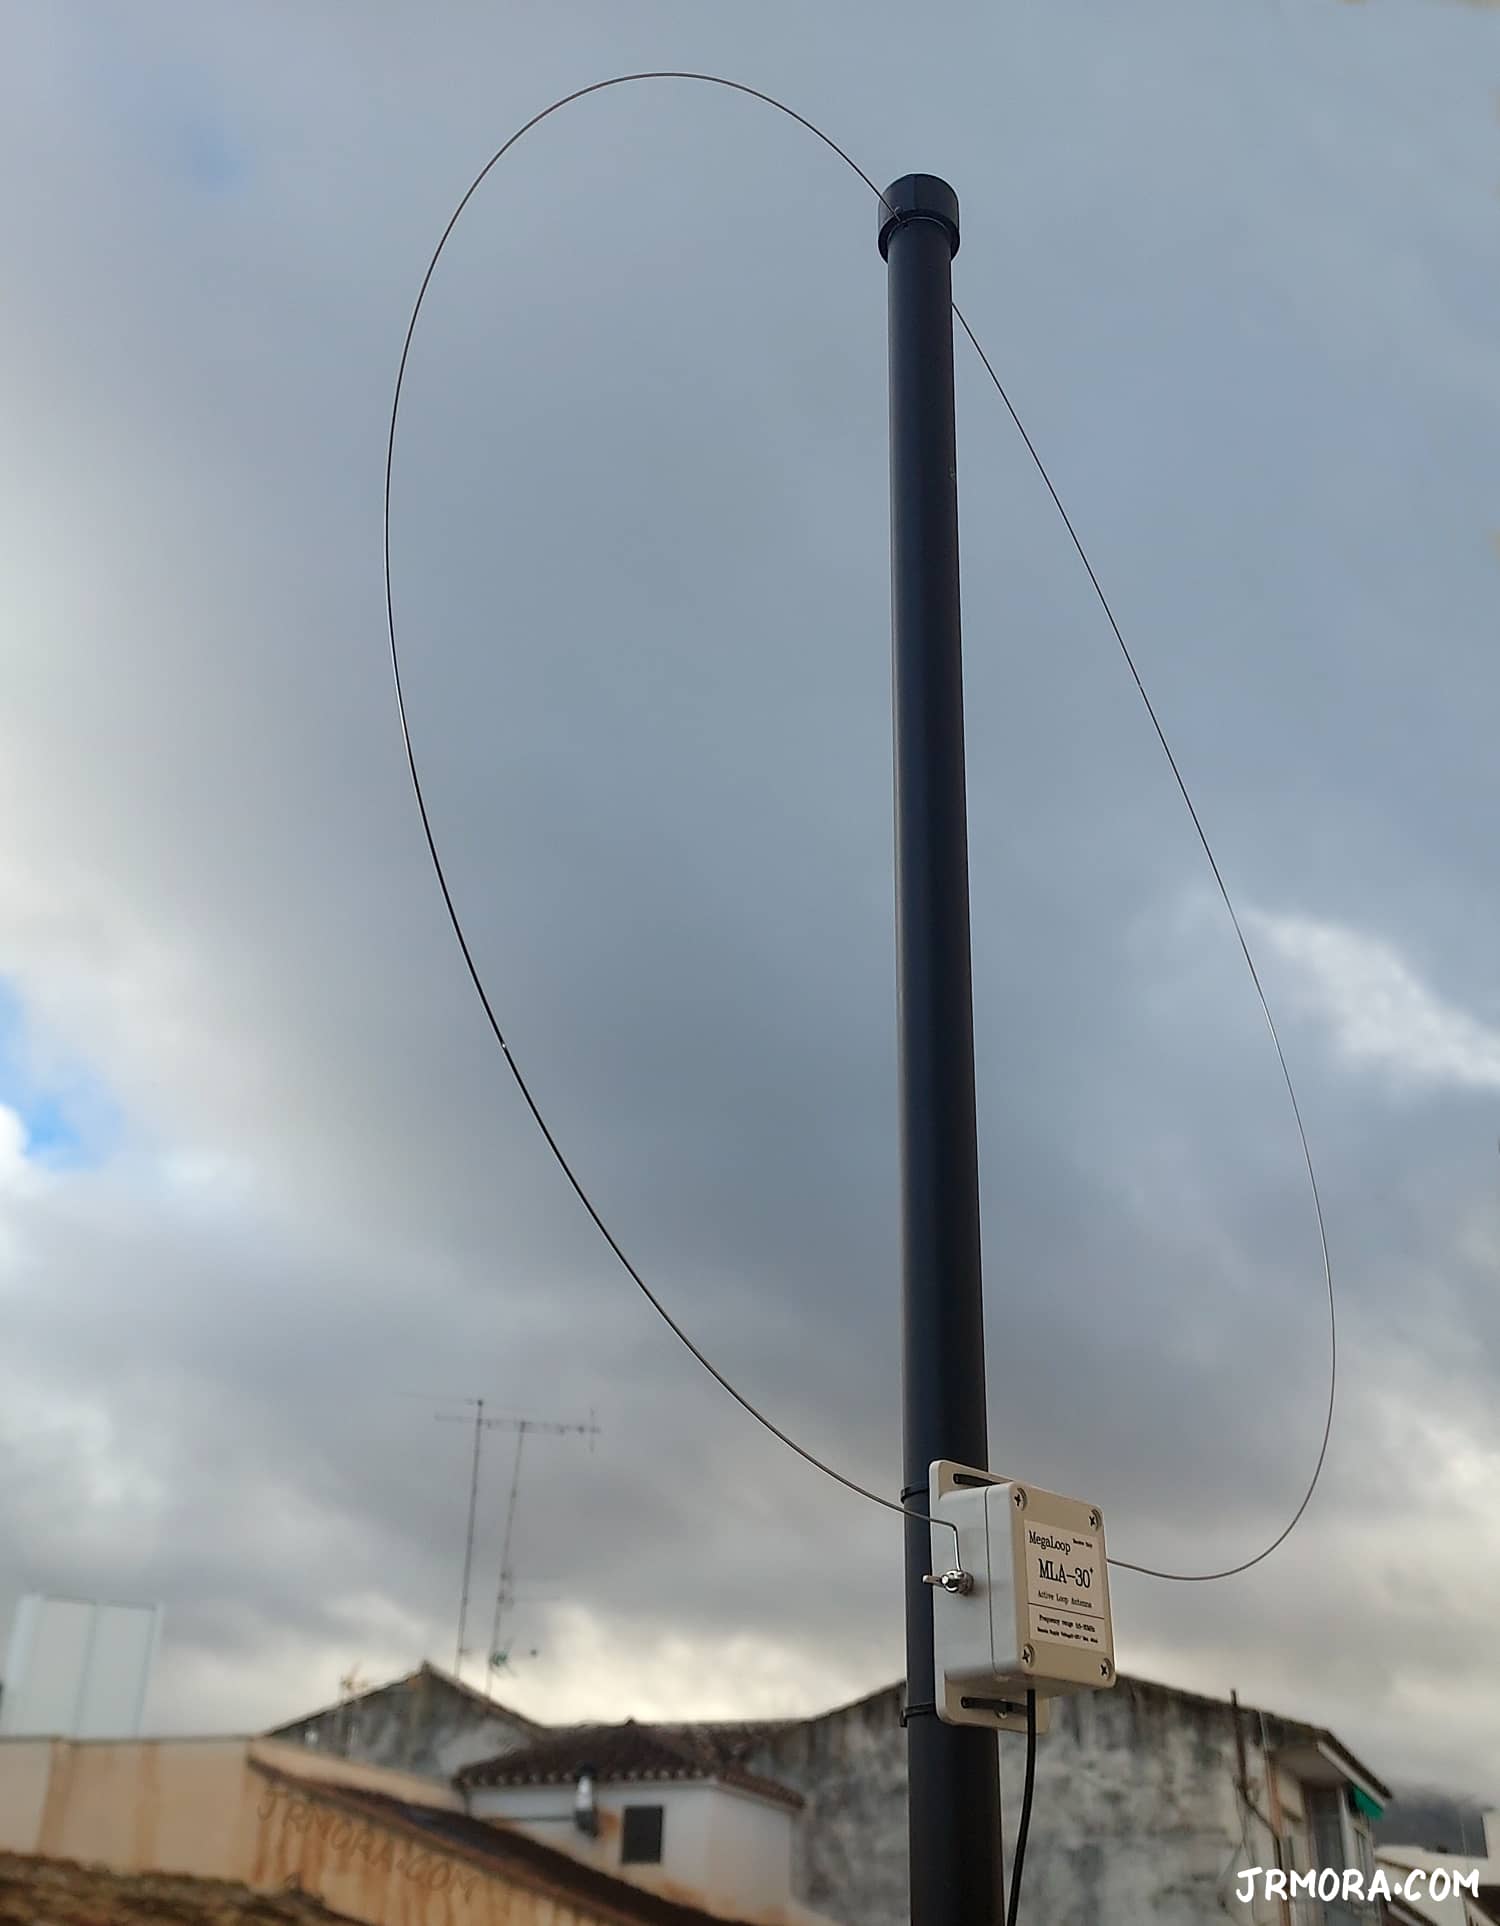
Installation
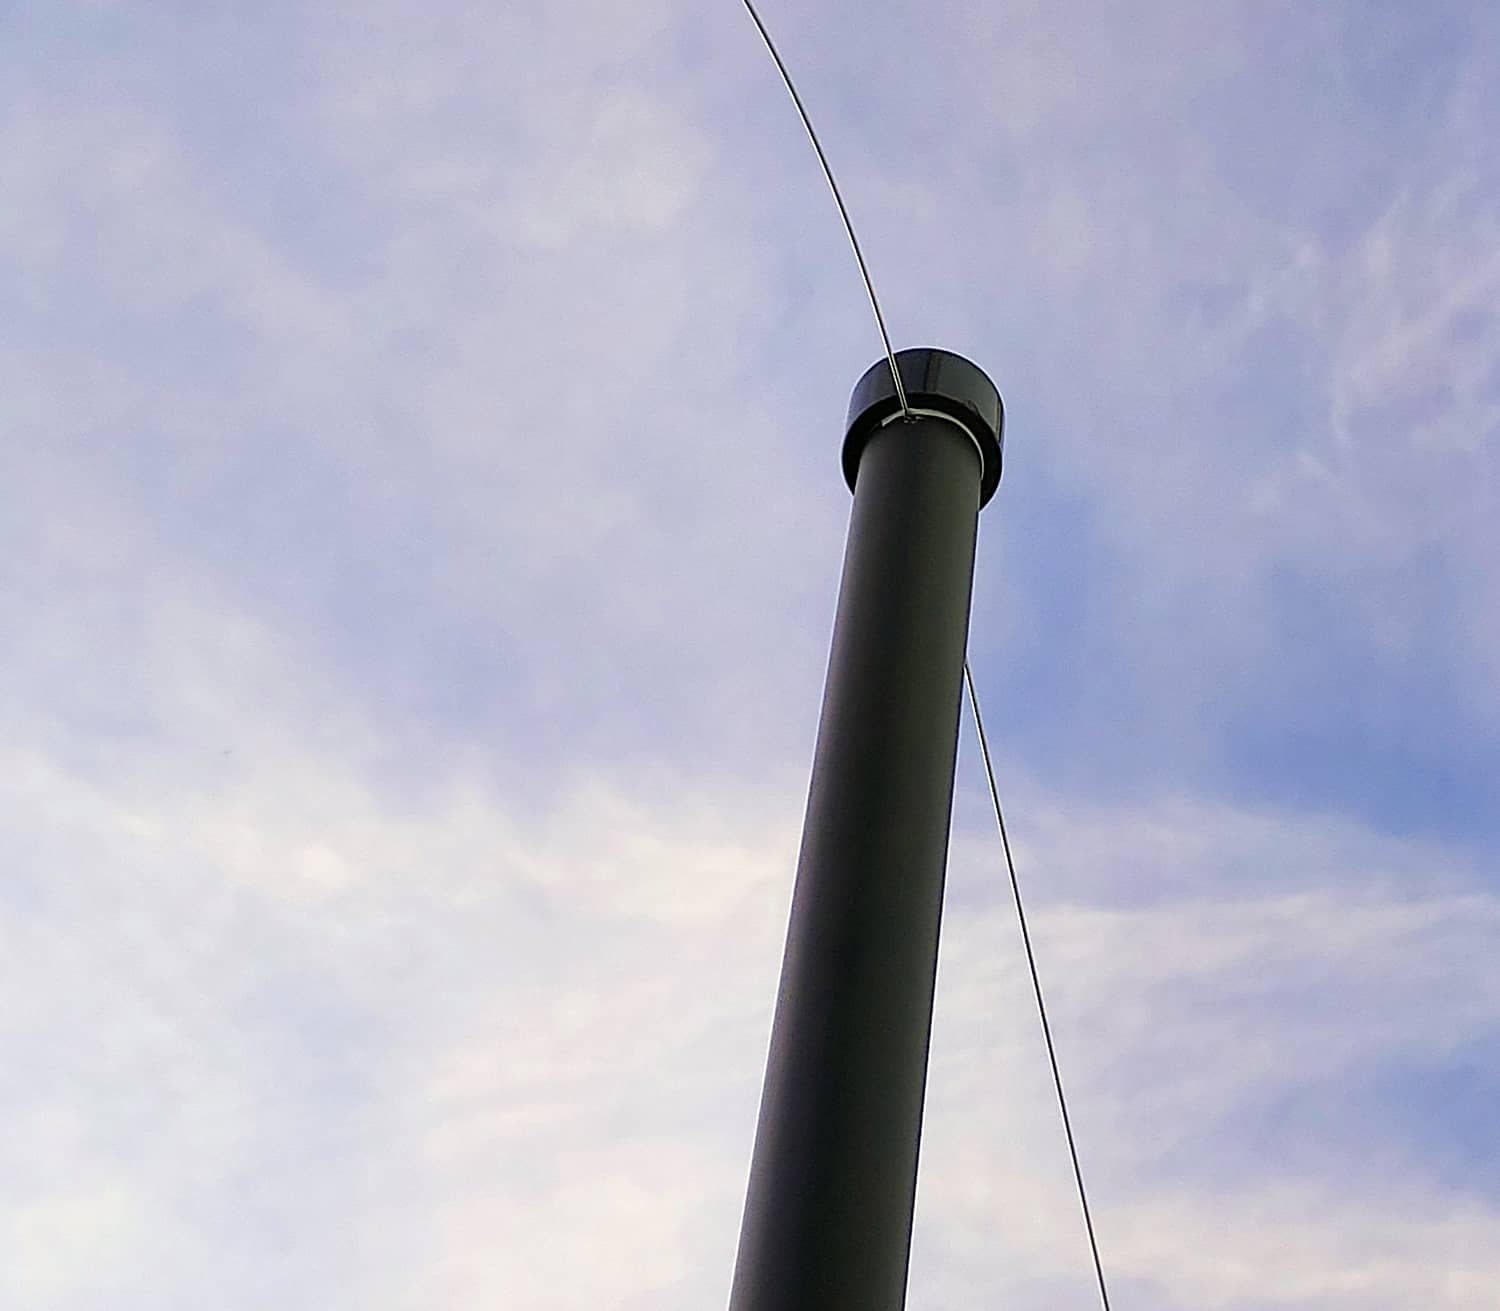
The set does not include a stand, so you have to make your own stand to mount it on. You can place it on anything like a wooden or PVC pole, as you like. Any support that acts as a long or short pole will do as long as it is not metallic as the hoop will be in contact with the tube.
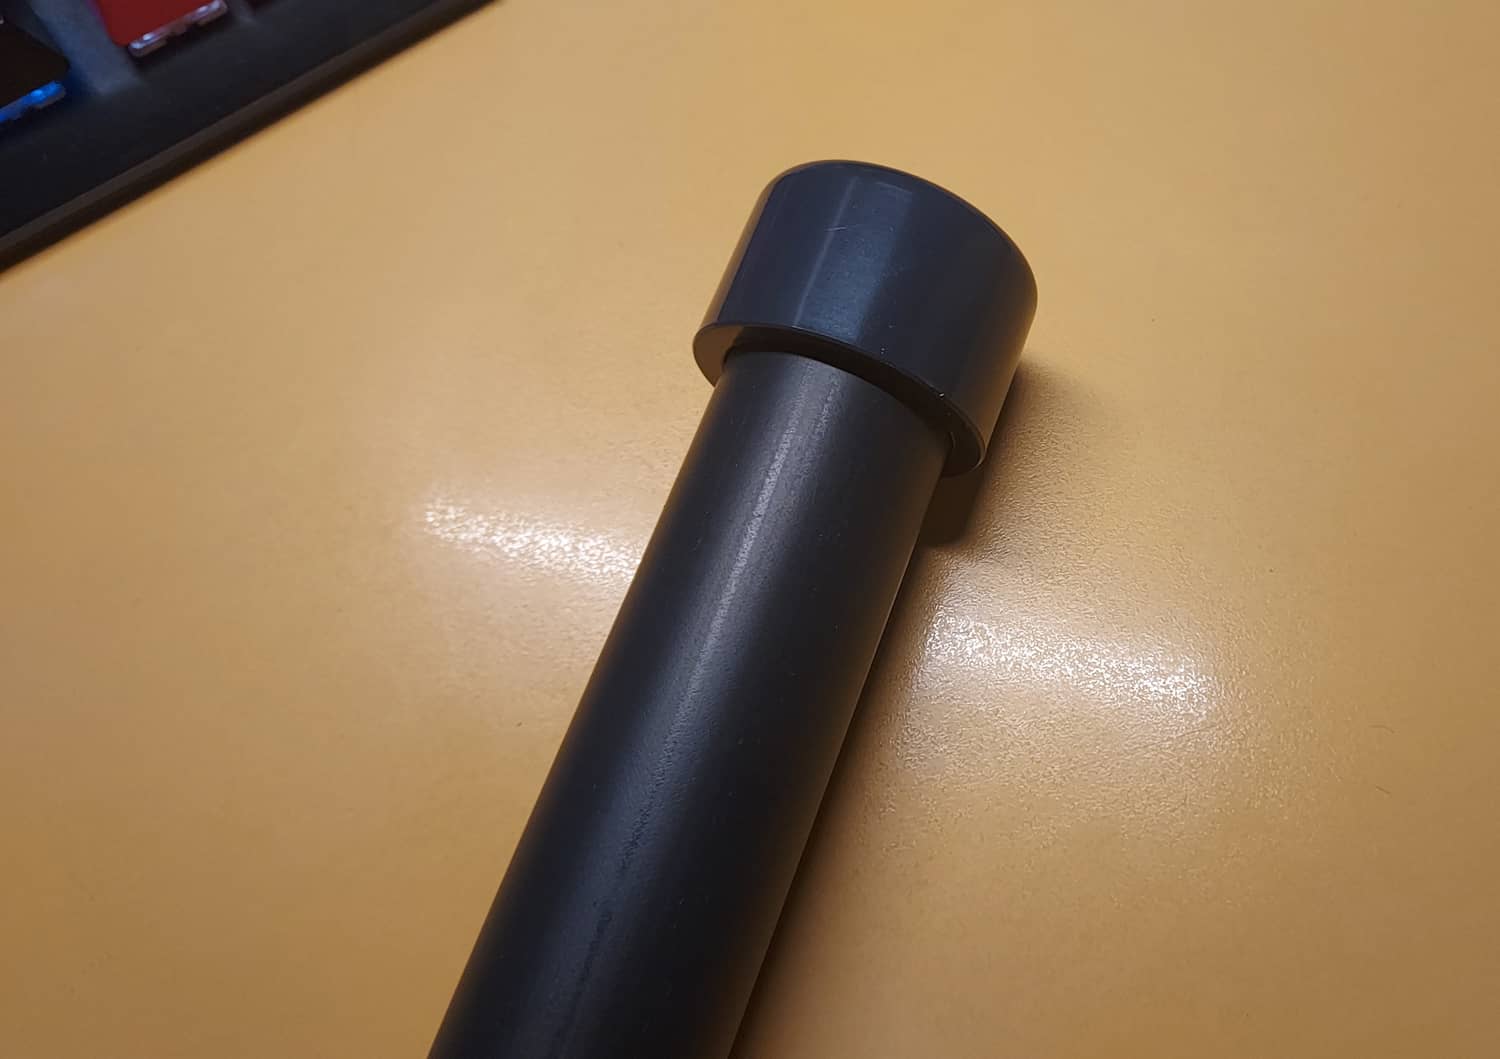
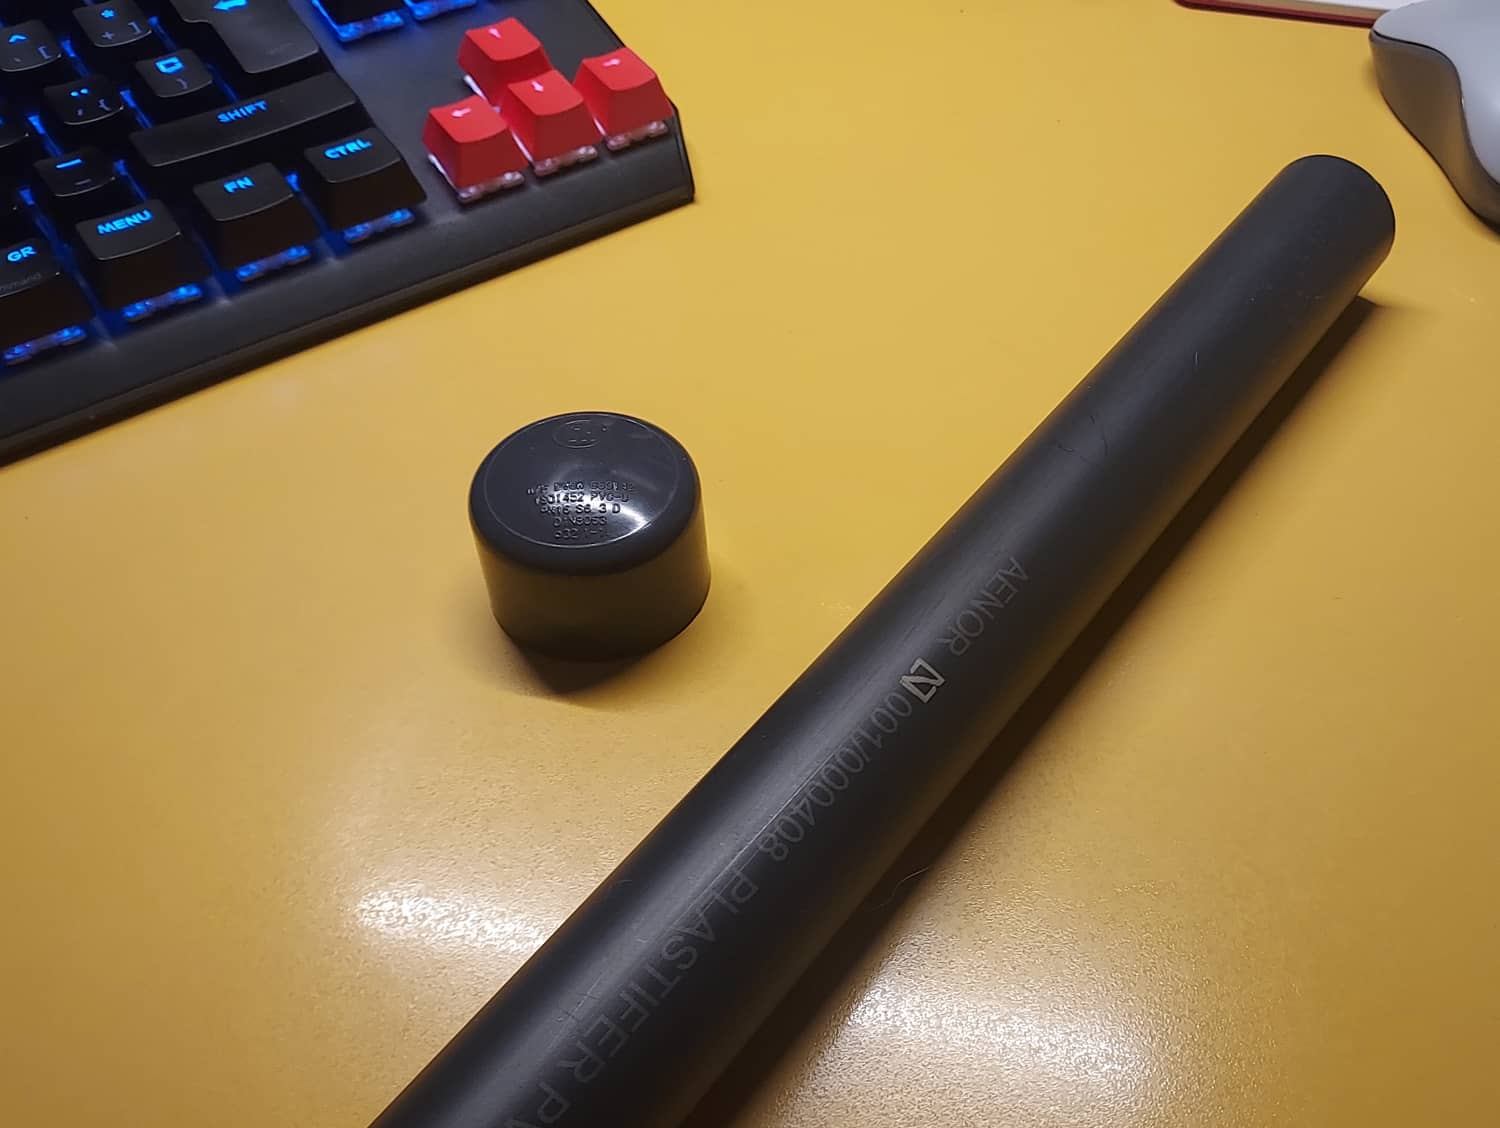
I have chosen a PVC tube 32 mm thick and 2.5 metres long, which I will finish off with a cap to give a minimum aesthetic finish to this domestic mast and to prevent water from getting into the tube.
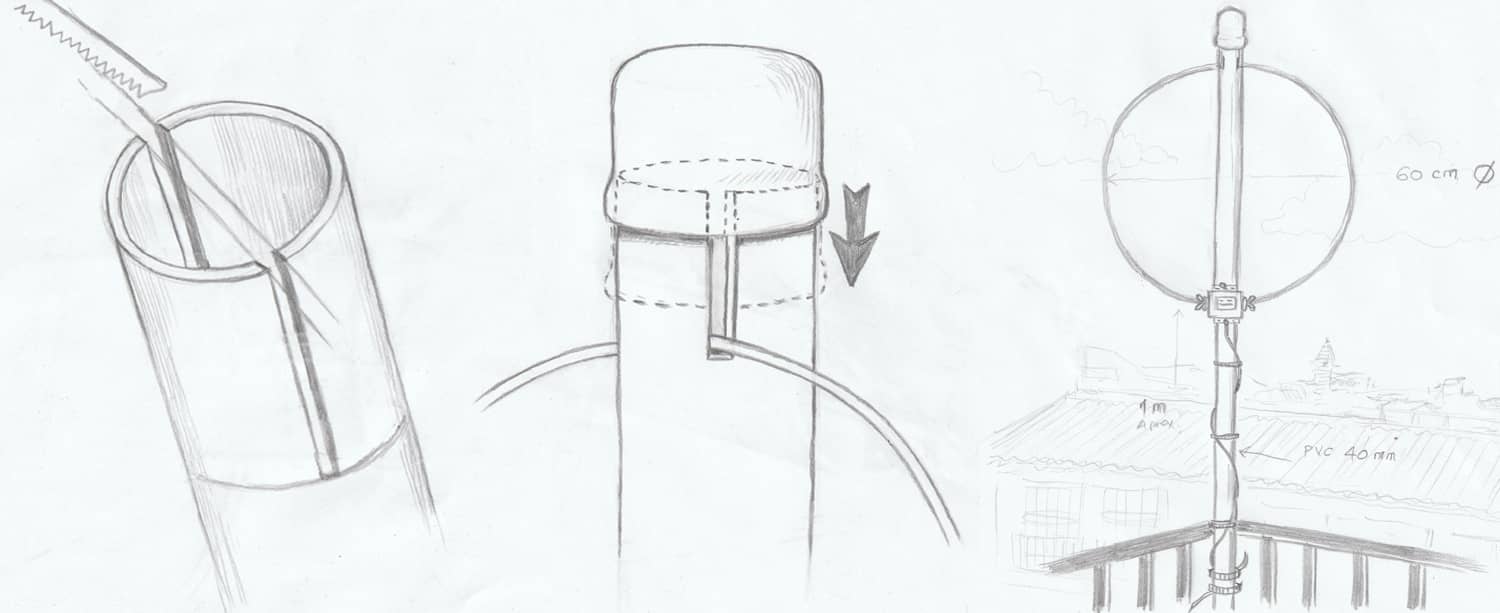
There you have the previous graphic summary of the thing.
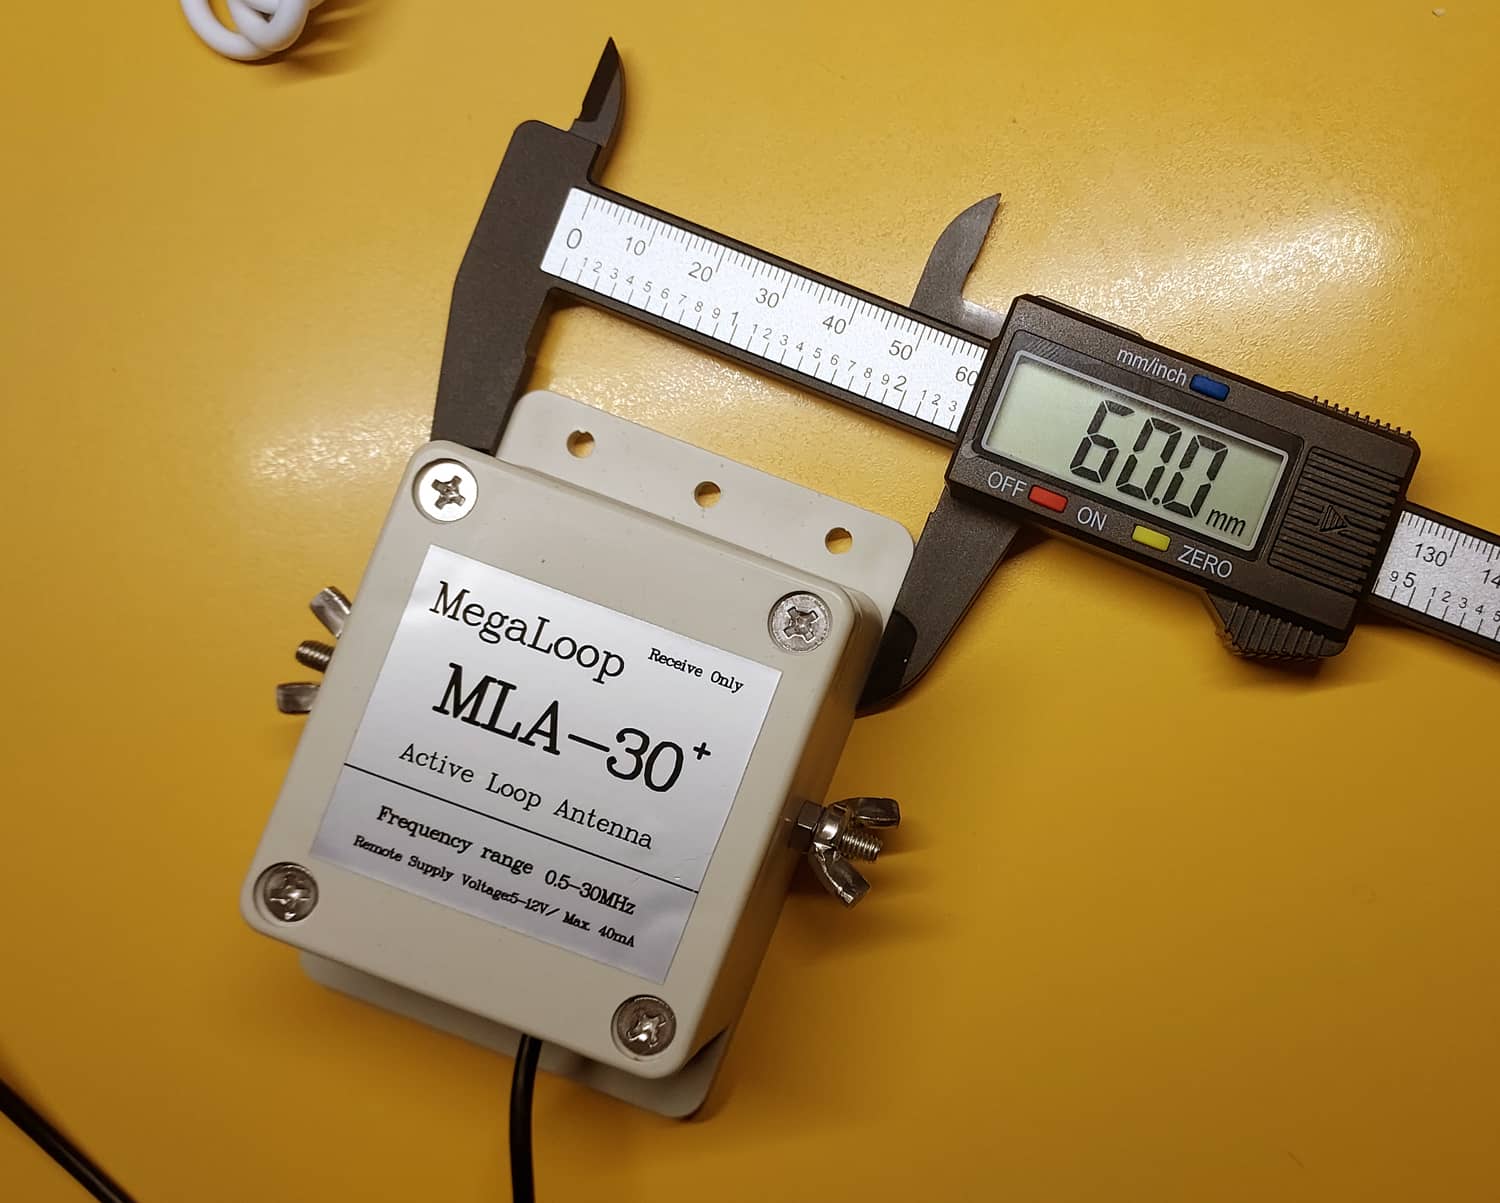
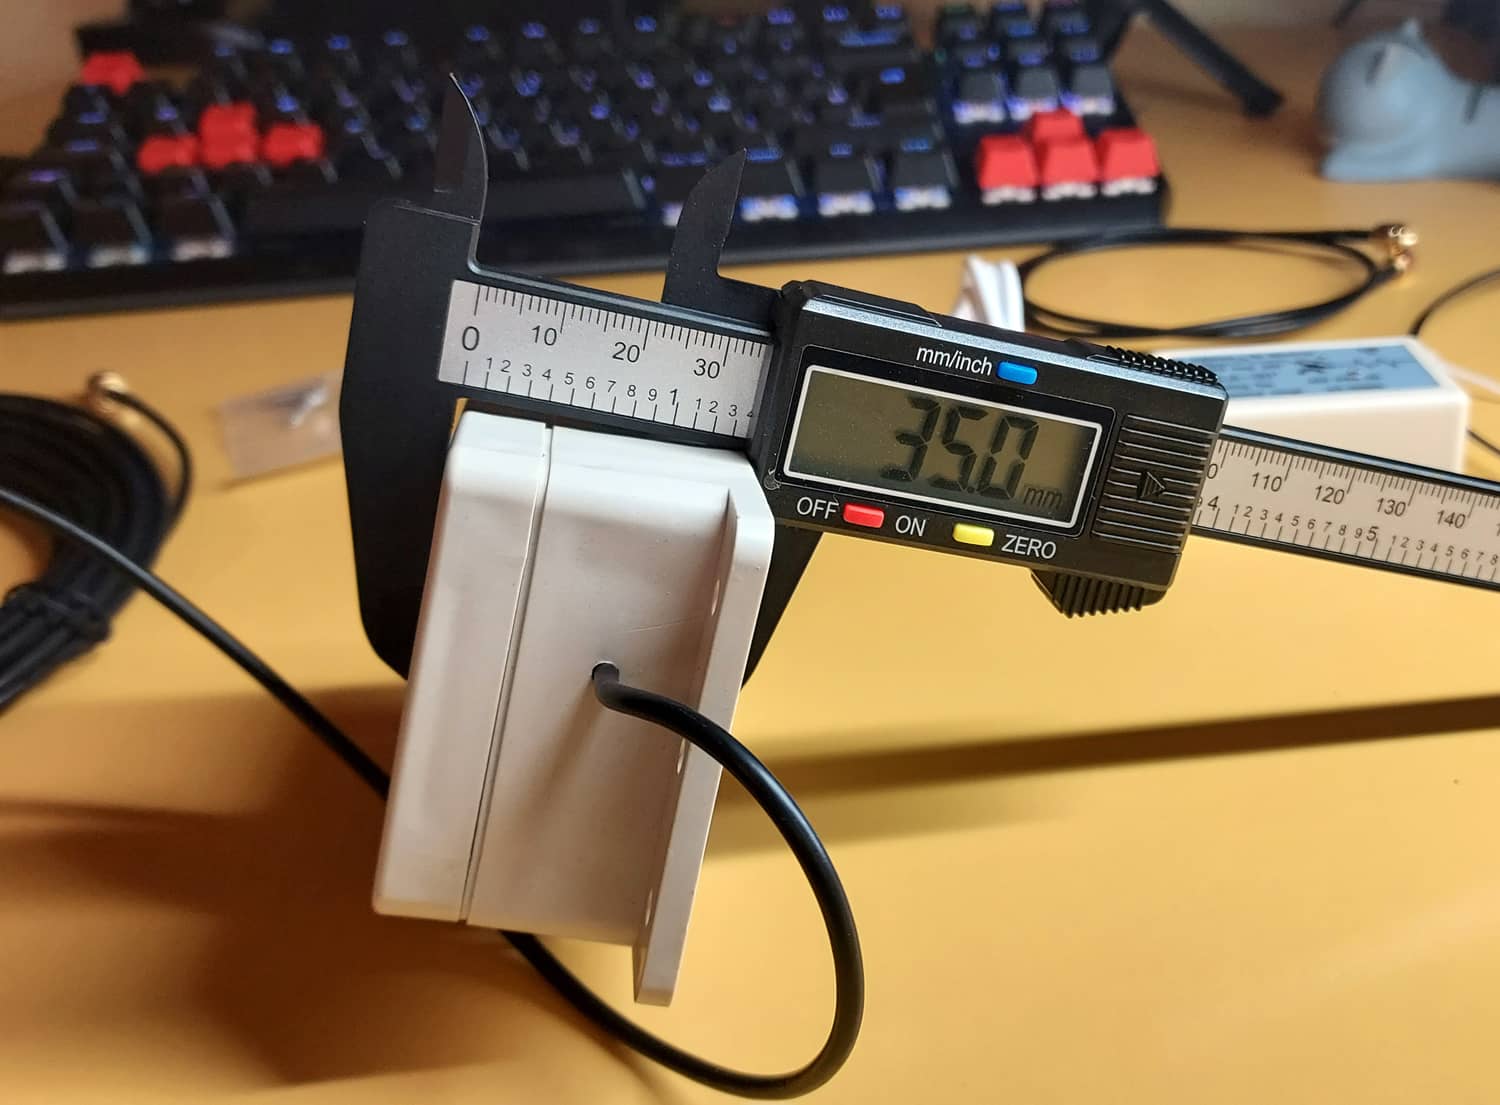
Something I didn't find in the thousand reviews of this antenna (a few years ago there wasn't a radio amateur who hadn't reviewed it) was the module measurements, necessary to decide the thickness of the tube.
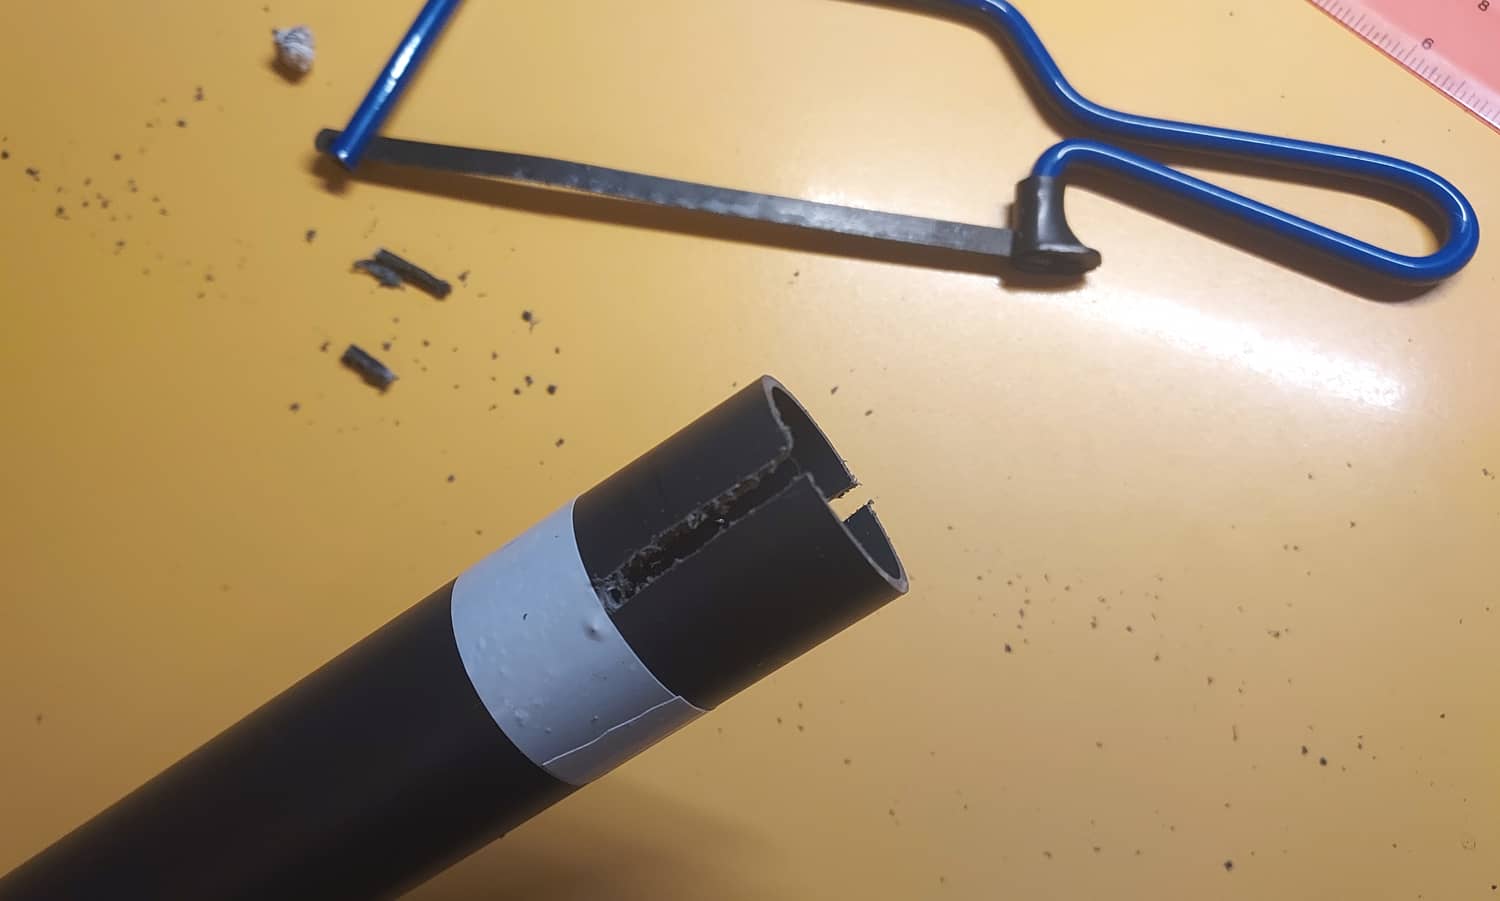
A notch is made at the top of the tube, a couple of centimetres beyond the end of the plug, so that the ring rests on the groove created.
In total, the antenna cost 38. 50 euros plus 8 euros for the tube and a small pack of clips.
The only thing left is to mount the ring on the module and fix it with the wing nuts and screw it to the tube with its two screws (you can also reinforce it with a pair of clips hugging the tube). Try to get a more or less exact circle. It will still work if it is not a perfect circle, but it will be thinner if you can adjust the ring well.
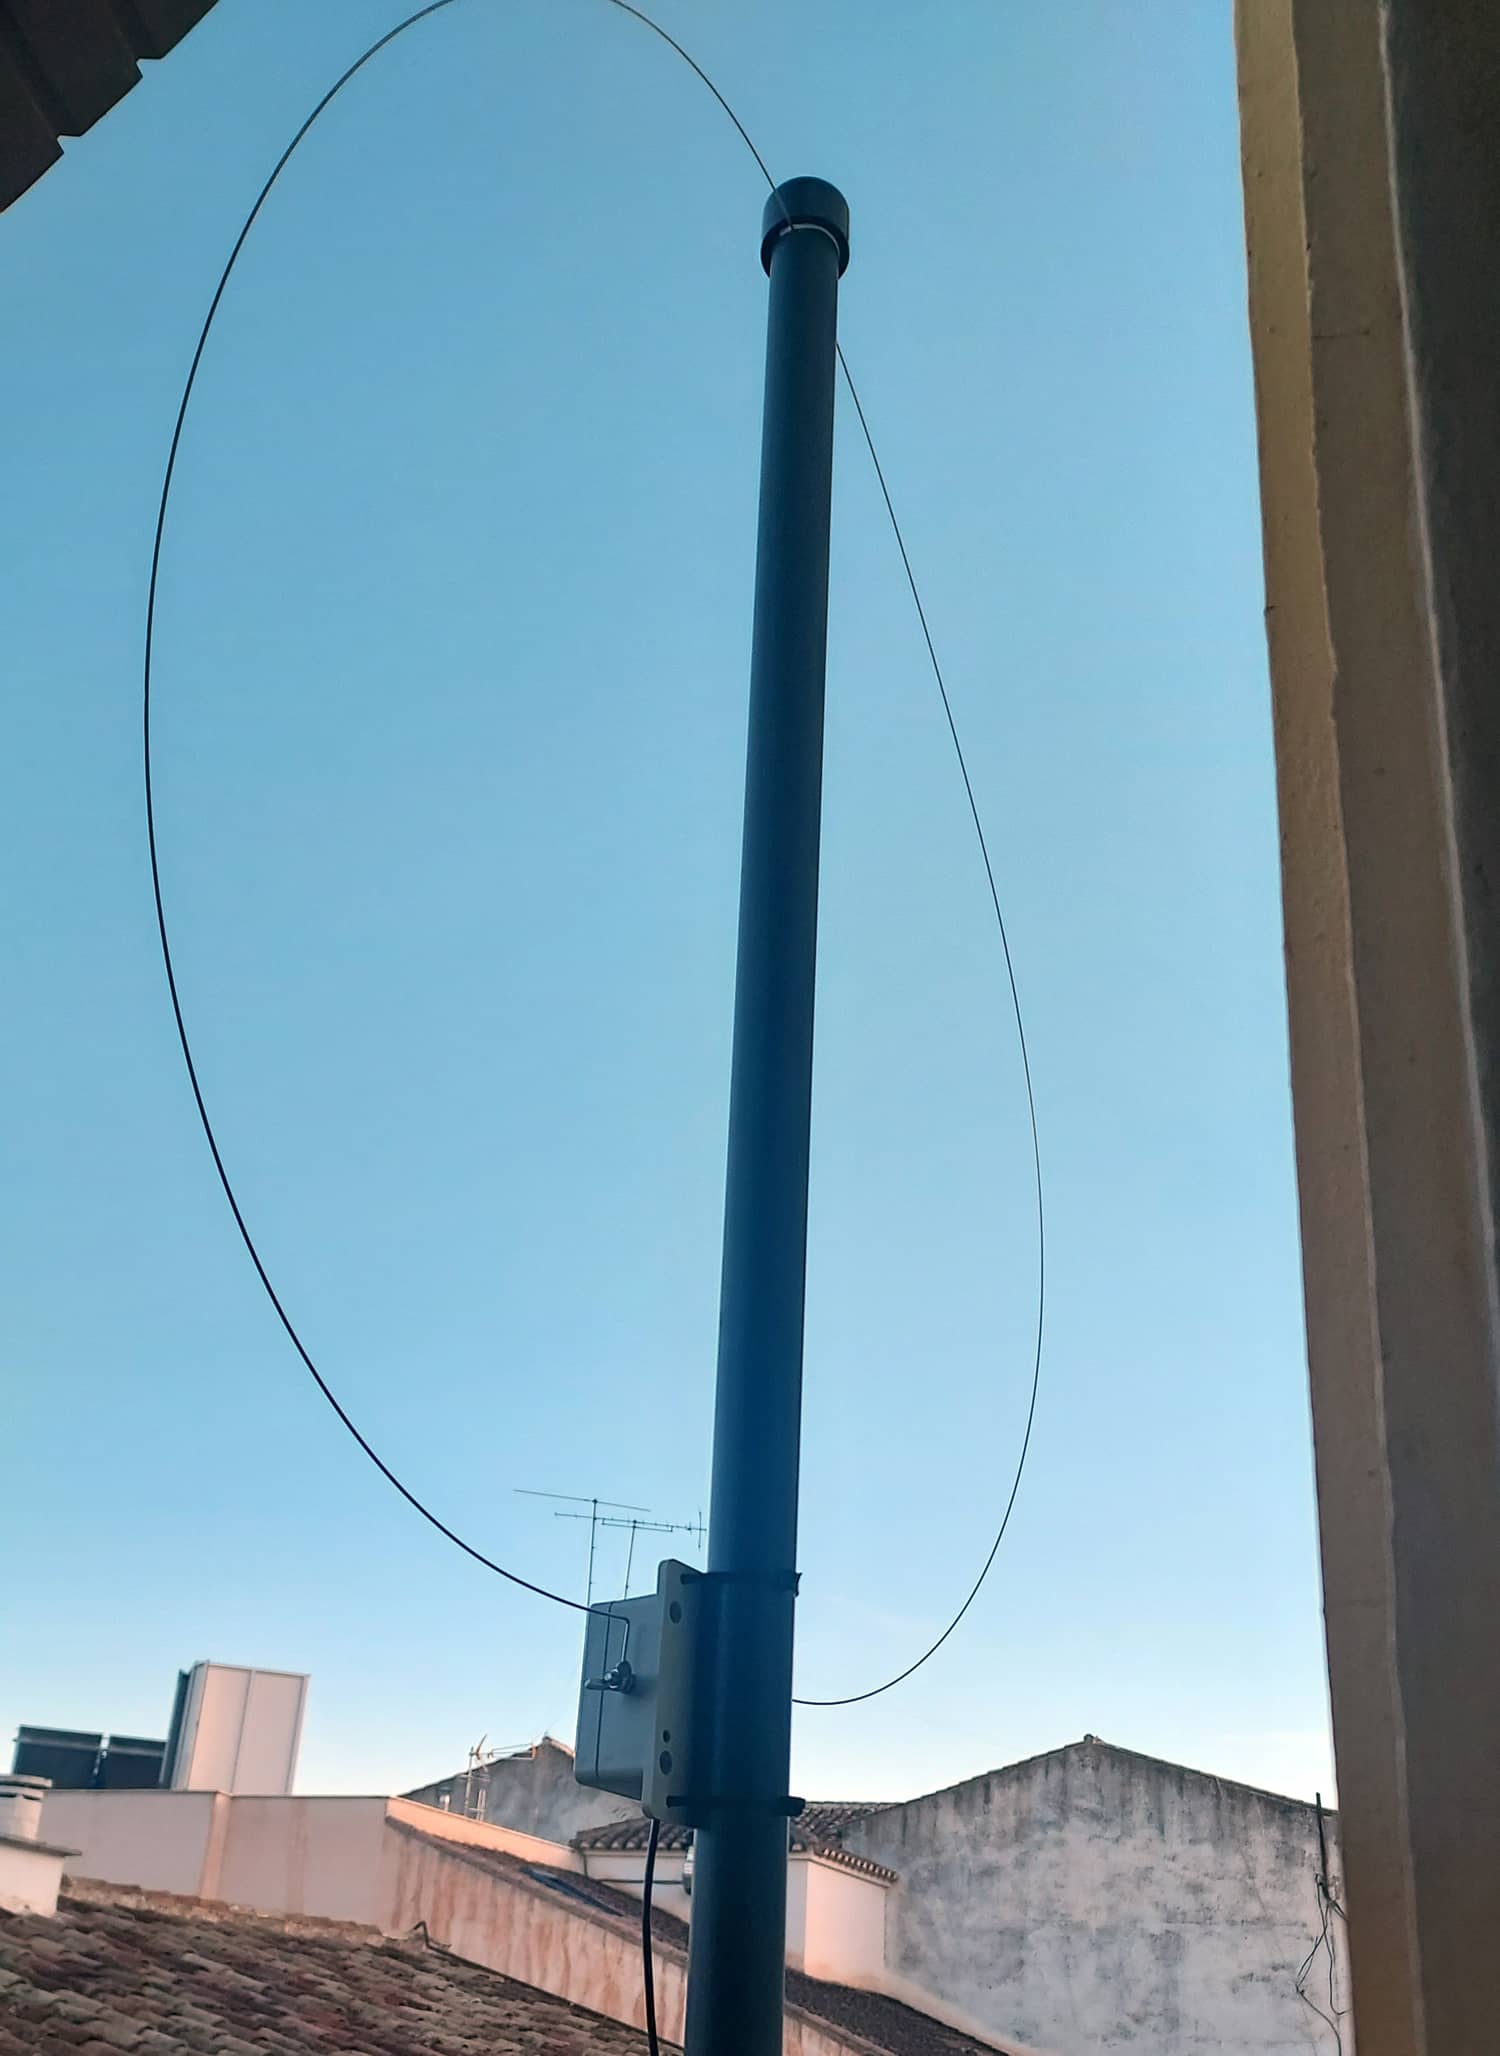
At this point, everyone will have to make the installation that best fits their location. In my case, as I don't have access to a roof (because there is no roof, it's all roof) I have put the tube on a balcony with a couple of clamps and clips on the railing so that it can be disassembled, moved, moved and rotated without difficulty.
To test the MLA-30 we only need to connect the antenna cable to the Bias Tee and the pigtail to the receiver. After that it is enough to power the Bias Tee with a power bank if you don't have enough space for another power adapter. A normal 10,000mAh power bank will last at least three days at a rate of six or seven hours of daily use. That's plenty.
With a higher-capacity one, it could last for weeks. Of course, when it drops below 30% or 25% charge, the Bias Tee tends to shut down.
(The RTL-SDR V4 does not need this Tias Bee, as explained below).

Update 21 February 2024
Thanks to a comment from Hans Wörzt (tnx!), I discover that the RTL-SDR Blog V4 does not need the Bias Tee included in the antenna because it has its own one. I mistakenly thought that the LED on the dongle's Bias Tee would light up when an external one was plugged in, but no, the V4 has its own built-in Bias Tee.
It was Hans' comment that tipped me off.
You do not need the little Bias Tee box that came with the MLA-30+ if you're using the RTL-SDR Blog version 4 dongle, as this has its own Bias Tee built-in. Just connect the long cable emanating from the pre-amplifier box at the antenna and connect it directly to the SMA on the SDR. Then, to activate its built-in Bias Tee, just check the Offset Tuning option in SDR#. If it is active a tiny red LED besides the SMA should light up. This simplifies the setup quite a bit. You can activate the Bias Tee also from the command prompt in Windows, using the 'rtl_biast.exe' executable.
*In the case of the SDR++ programme, it has a "Bias T" option to activate it.
Here are a few free snapshots just for the sake of showing off the tube.
Under the cap I put a couple of turns of insulating tape to tighten it a bit, although you can also seal it if you want to leave it fixed.


Other reviewers claim just the opposite of what's described here; turning the potentiometer inside the box clockwise increases the gain (and noise floor)...
I'm not going to fiddle with it, so have no idea who's right.
Yes, finally I haven't touched the potentiometer either, and I don't plan to do so because I don't want to waterproof the box with the risk of water or humidity getting in.
The truth is that, although I have quite a lot of noise because of the thousand devices around me, the balance between noise and signal is not bad at all.
I'm already using it with the Beas Tee from the V4 and it's a relief to get rid of the power bank and two cables :P
Once again I thank you very much for the comment, I probably would have spent the rest of my life using the Bias Tee on the antenna if no one had warned me.
You do not need the little Bias Tee box that came with the MLA-30+ if you're using the RTL-SDR Blog version 4 dongle, as this has its own Bias Tee built-in. Just connect the long cable emanating from the pre-amplifier box at the antenna and connect it directly to the SMA on the SDR. Then, to activate its built-in Bias Tee, just check the Offset Tuning option in SDR#. If it is active a tiny red LED besides the SMA should light up. This simplifies the setup quite a bit. You can activate the Bias Tee also from the command prompt in Windows, using the 'rtl_biast.exe' executable.
Thank you very much for your comment, Hans
What a great surprise (and joy) you give me.
I didn't know that, and I tried to read as much as possible before buying the antenna.
I'm going to try it out right now.