
There are different scenarios in which you may need to clone a hard drive, either system or data.
1 - To replace a mechanical HDD with an SSD, which is much faster, quieter and consumes less electricity.
2 - To replace the system disk with its partition with the boot sector, the operating system and all its data, programs, drivers, etc. with a more modern SSD of greater capacity.
3- To make another backup of those files that you don't use often but are important.
4 - Clone or save data from a failed disk to replace it before it dies.
5 - To upgrade or extend identical machines, for example those on a network.
Other circumstances are possible, but my case is a mixture of 1 and 2.
how many years of useful life does a hard disk have?
Generally, it depends on its use. Solid state drives tend to last well beyond the manufacturer's estimates, which they sometimes underestimate by advertising a minimum of 5 years and adjusting their warranty to a likely 10 years, or more, of useful life. Some brands extend the warranty with replacement, repair or refund for the life of the product.
Newer SSDs are living longer and longer and there is a lot of software out there to keep track of the health of your drives. Among the most popular is Crystal Info or HDDScan.

To give you an idea, this is the estimated lifespan of my old SSD, currently in use.
According to SSD Life, the 120GB Kingston HyperX assembled in 2012, always used for the operating system and some editing software, is still at 92% health and is estimated to last until 23 April 2032. If so, it would live a little more than 20 years and would now be more or less at the halfway point of its existence.
SSD Life also shows you a kind of working life report of the drive with the hours worked, 56,848, which is equivalent to 6 years, 5 months, 28 days and 17 hours. It is said that an HDD lasts about 20,000 hours, although there are drives that can exceed 80,000 hours, but they usually start to limp much earlier. The software also reports the total number of gigabytes read and written.
Software disk cloning software
So far, all the cloning I've done has been software cloning with Clonezilla. The nice thing about Clonezilla is that it is GNU licensed software, the process is very simple and you only need a USB stick (you can also burn or mount the ISO file on a CD/DVD). I skip this process because it is more than explained in a thousand pages.

There are different free and paid software alternatives for disk cloning, but this is not the topic at hand.
When you have two, three or more loose disks of different sizes, they end up in a pile and if you want to use them, you have to keep opening the computer and changing them, and it is possible that there is no space left. The dock solves this, allowing us to use them by inserting them, even when hot, and accessing them in the same way as we would external USB drives.
While it is true that this can also be done with SATA to USB adapters, inserting more than one begins to pose problems of lack of power and you have to get powered boxes or power supplies.
With this device we have two free bays and we can use both of them at the same time to drive disks and access their content quickly.
Wavlink Dual Bay External Hard Drive Docking Station
These devices, known as "Dock Station", are available in different prices and qualities. The cheapest two-bay devices are around 40/60 euros and others go up to 100 or more euros and offer more bays, a bit more speed and other options. This one from Wavlink does what it advertises and costs about 37 euros. For home use, or even professional use, it's fine.
It supports 2.5-inch and 3.5-inch SATA I / II / III interface external hard drives and SSDs. It has USB 3.0 connectivity and the data transfer rate can reach up to 5 Gbps, according to the manufacturer. No drivers required, it is Plug & Play, plug and play. You can check out the rest of the specifications here.
It has a very easy to use cloning function with a single button press and LED progress indicators. It allows you to clone two hard drives without the need to connect it to a computer, so you can leave it working and get on with your stories.
It works on almost all versions of Windows, from XP to 11 and on Mac OS X or higher and, although the manufacturer does not advertise Linux compatibility on the box, but it does in the manual for this model, I have read some users commenting that they have used it on Linux without incident. I'll try it one of these days on the Raspberry and I'll find out.
Packaging and contents


 si tienes la torre en el suelo.")


 si tienes la torre en el suelo.")


When plugged in, the computer recognizes it right away


Inserting a solid disk drive in one of its bays, three quarters of the same. Windows immediately recognises it and shows it as a new drive.

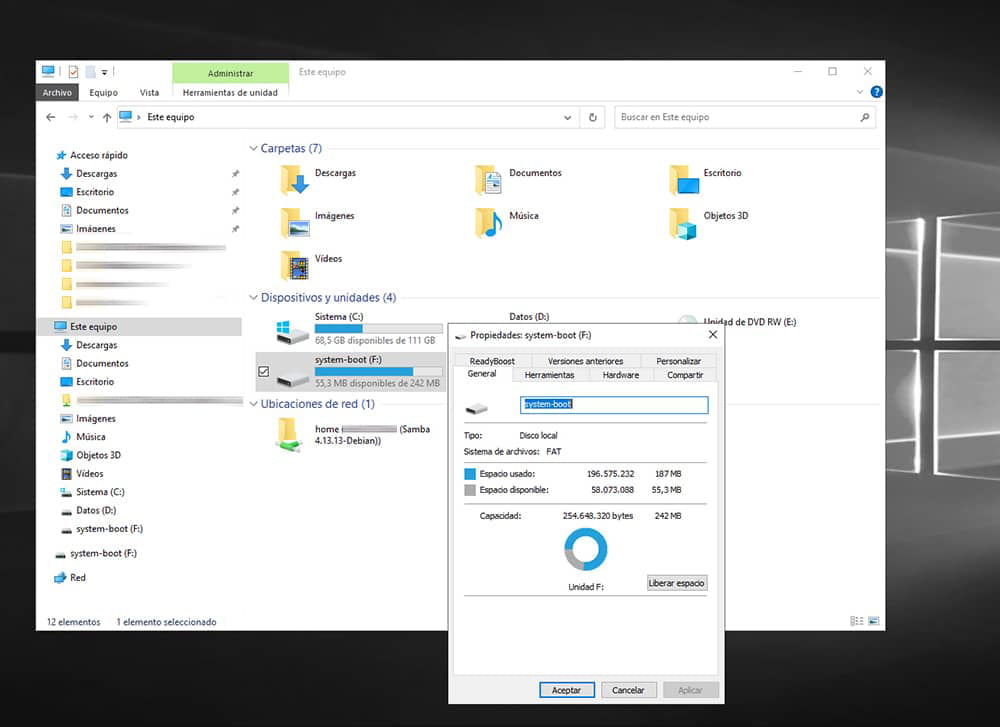
There is no problem navigating its contents, nor moving, editing, deleting, adding or copying files. In the example it is shown as system-boot because for the test I used an Ubuntu boot disk, which was the first one I had on hand.
Let's get down to business of cloning
As we are going to do the cloning offline, that is, with the dock plugged only to the power (one of the advantages of this gadget that simplifies the process even more), the machine is turned off and we proceed to the removal of the SSD drive where the operating system is installed and that we are going to clone in a new drive of more than twice the capacity.
The extraction was a bit of a struggle because they had secured it with some kind of paste that joined the connectors to the disk casing. It is supposed to be some kind of thermofusible compound that prevents the connectors from loosening with vibrations or breaking as they are made of a very thin plastic. Thanks to O Galdo for the hints.

As patience, a small plastic spatula that I heated a little to tame that paste and very carefully I removed it without much problem in a few minutes.

Today, captive and disassembled the paste ends the scratching.
While we're at it, I pay a courtesy visit to the old mechanical HDD to check its connection and remove a bit of shit from the surroundings. It's a 1TB Western Digital "Caviar Blue" which is holding up stoically and without complaint, although I'll probably replace it too and use it as an external with the dock as it only contains a hundred million copies of bullet points and who knows how many other forgotten shits.


Once the SSD that houses the operating system (Kingston 120GB) has been removed, we plug the dock only to the power supply (without connecting it to electricity and without turning it on) we insert it in the"Source" slot and the disk where we want the copy to be made (Samsung 500GB) in the"Target" slot.
It looks like this.

Please note that the target disk must be the same size or larger than the source disk. The device makes a bit-by-bit copy to create an identical drive (including the original size), but it is dumb and doesn't know how to allocate the extra free space on the new disk.
We plug the dock into the mains and turn it on from its rear switch and wait for it to recognise both drives. When the"Source" and "Target" LEDs light up, the dock has already identified them.

Now press and hold the centre button for 3 seconds until both the "Source" and "Target" LEDs start flashing, at which point we release and press the same button again just once.
The device will then start to clone the hard disk and we will be able to see the progress of the cloning by the progressive flashing of the indicators which will remain fixed at 25%, 50%, 75% and 100%.
When it is finished, we will know because the lights will stop flashing and will stay on

We turn off the dock from its rear button and we can safely remove the disks and install our new copy to check that everything went well.

Adding the unallocated space
If after cloning we find that not all the space is there and only shows the original disk, just go to Windows Disk Management(right click on the Win start button / Disk Management), right click on the unallocated space of our cloned disk and choose "Extend volume".
In case you can't do it from Windows Disk Management (just what happened to me), here's the solution:
The cloning has been perfect and fast. It starts up without any problems and everything is right where I left it.


A quick summary
The thing is entirely plastic, but the finish is decent and the size and design are discreet. Although it doesn't have a lot of weight, four rubber pads keep it more or less steady on the table to avoid a lot of shifting when inserting and removing discs.
In Win10 it recognises the dock seamlessly when plugged in and switched on. It also allows hot insertion of discs and has a decent transfer rate, even when connected to USB 2.0.
I got it to use multiple file disks and to clone a system SSD to a larger SSD and also to replace a 10+ year old HDD. The cloning went fast and well, 68.5GB in less than 15 minutes.
The only downside I can see at the moment is that the USB cable (3.0) is a bit short (75cm) for a desktop PC if you have the tower on the floor and a bit far away. Nothing that can't be solved with a USB hub and/or an extension cable. It comes with a USB 3.0 A to USB Type-C adapter, a nice touch.
A dock at a good price, with a small size that fulfils well the functions it advertises.
Pros
- Inexpensive.
- Easy to use.
- Can read two 2.5 or 3.5 SSDs or HDDs at the same time and hot-plug them.
- Fairly fast cloning without the need for a computer.
- Decent transfer speed.
- Size and finish.
- Quiet, only the usual HDD noise is heard.
Cons
- Does not add the free space of the destination disk and appears as "Unallocated" having to resort sometimes to software to allocate and extend it.
- Cannot clone to smaller disks even if the occupied space of the source disk is less than the destination disk.
- USB cable somewhat short.


