You’ve probably seen them around, from various brands and at different price points. These small secondary screens are available in sizes of 3.5 and 5 inches, as well as in other, more landscape-oriented sizes such as 8.8 and 9.16 inches. They’re mainly used to monitor various parameters of your computer, and people usually fit them inside open-frame or glass-fronted cases to add an aesthetic touch – whilst still serving a practical purpose – to the inside of the PC.
These allow you to display the CPU and GPU temperatures, disk data, as well as the time, date and time, amongst other things, and the advantage is that they are designed to be used without having to install AIDA64 or connect them via an HDMI cable. Simply plug them in via USB and they’re ready to go.
The smallest ones, at 3.5 inches, can be found very cheaply. They cost between 12 and 25 euros. As I had a few drachmas in my AliExpress points and one of those occasional offers popped up, I snapped one up for just under 14 euros and will use it outside, as my PC case is enclosed and sits under the table.

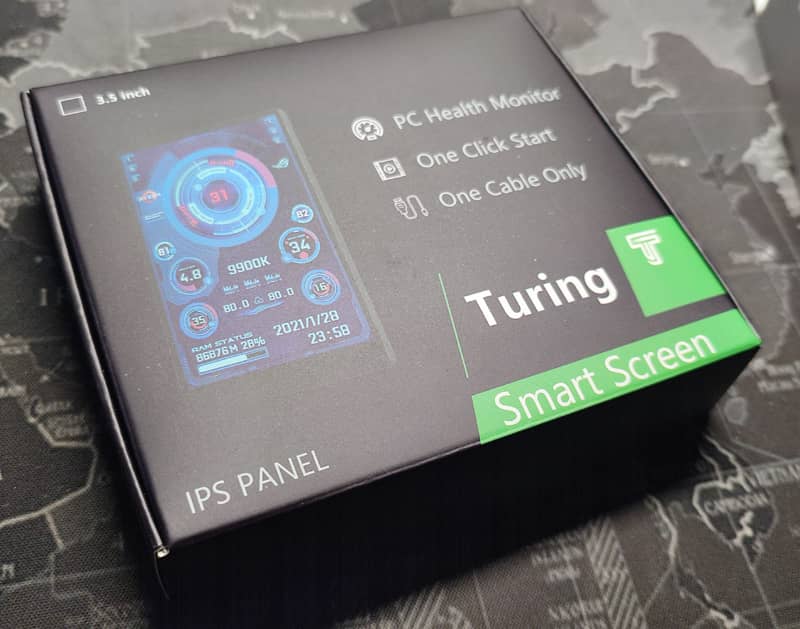
Contents of the box
Everything looks of fairly poor quality. Don’t expect a product with ‘premium’ finishes at that price.
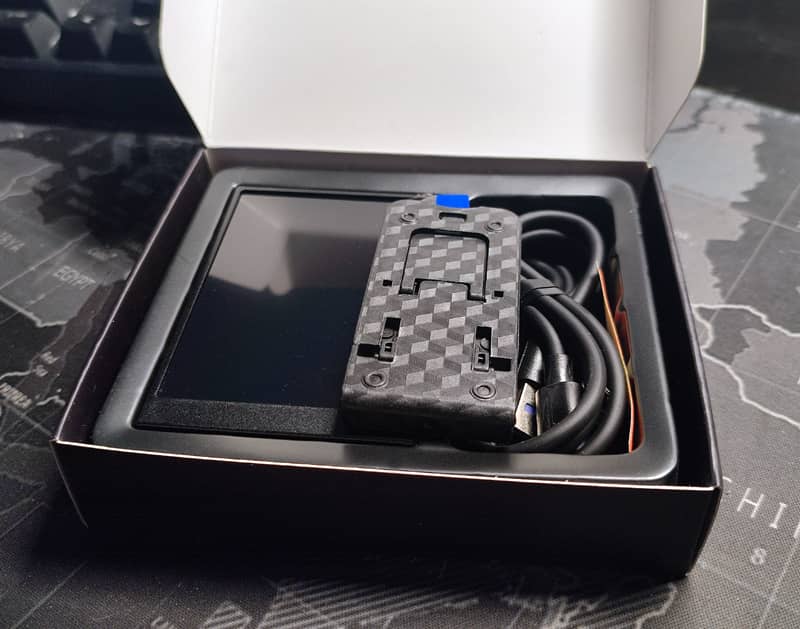
The box contains the little screen, a USB cable, some so-so double-sided tape that I wouldn’t recommend using if you don’t want the screen to fall off in a few days (it lasted three days for me using the two strips of tape included) and a foldable plastic stand that’s so ridiculously small and poor quality that whoever designed it, whoever manufactured it and whoever packed it into the box should be arrested and prosecuted.
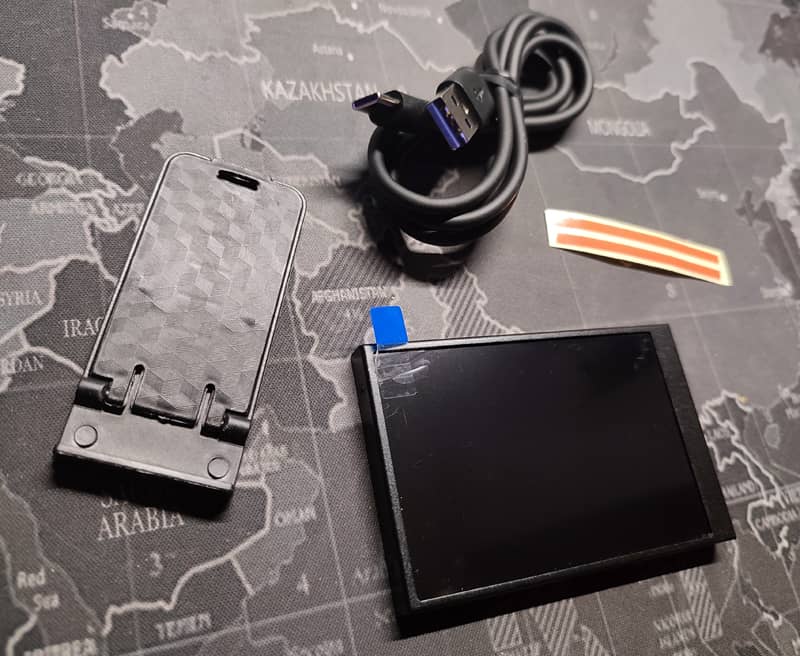
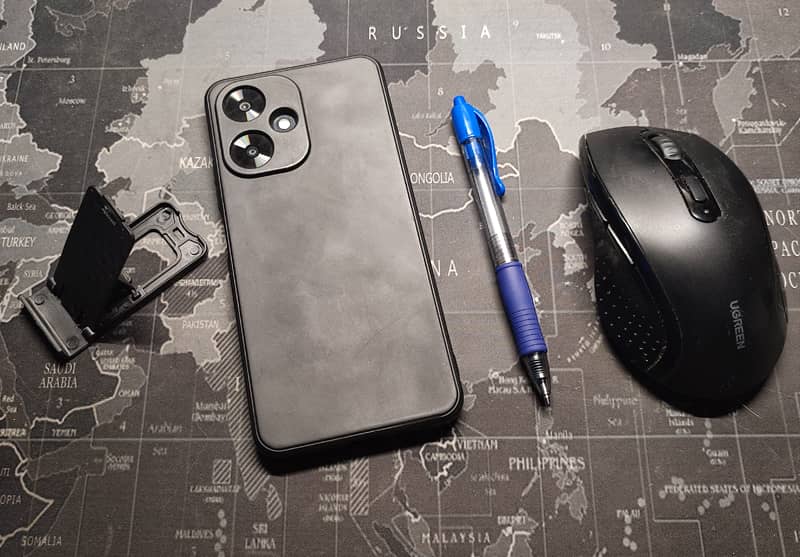
On the left is the tiny, very flimsy and smudged plastic stand that comes with it, to give you an idea of its size when compared with other everyday objects.
There are lots of options depending on the accessories you choose; some include a 9-pin to USB-C or PH2 cable for connecting the screen inside the case, or you can buy it with just that dog-shaped stand and the USB cable.
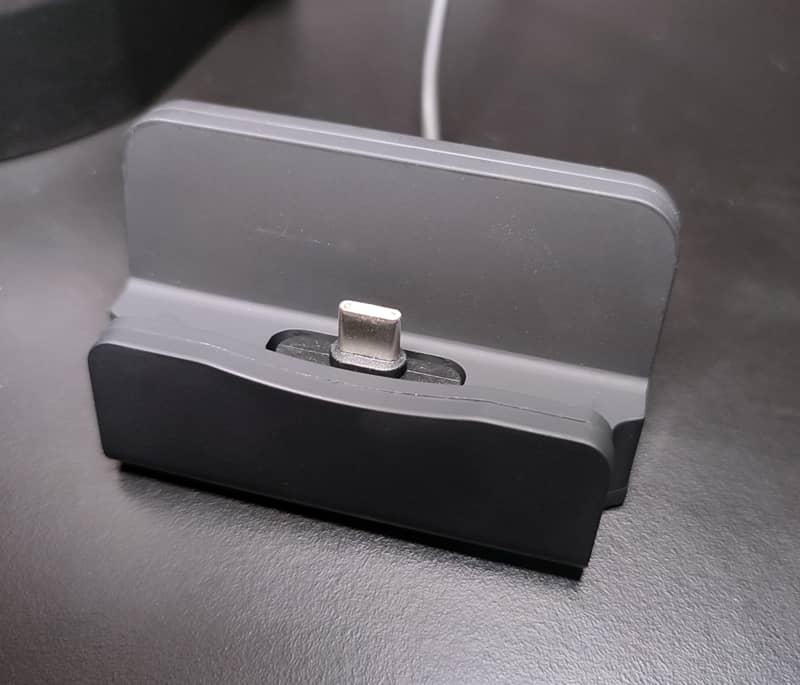
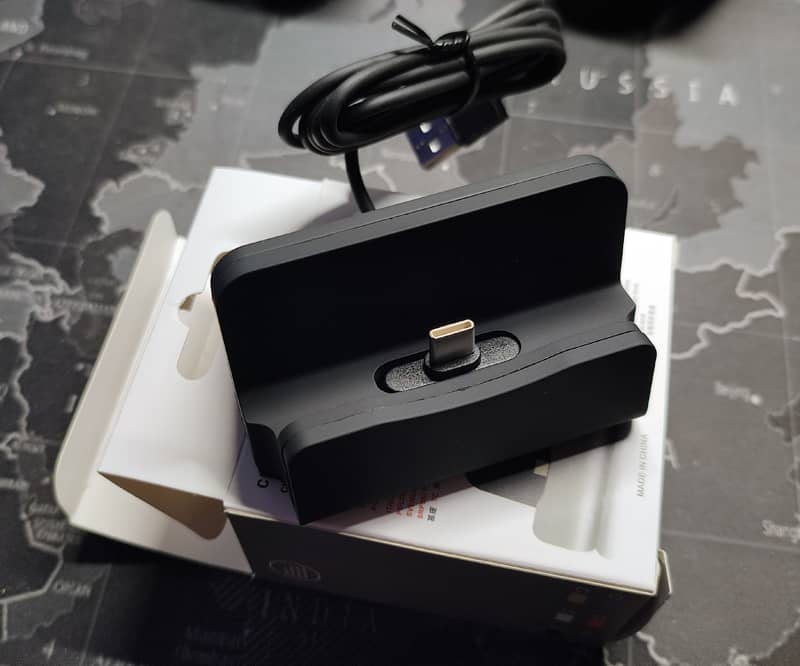
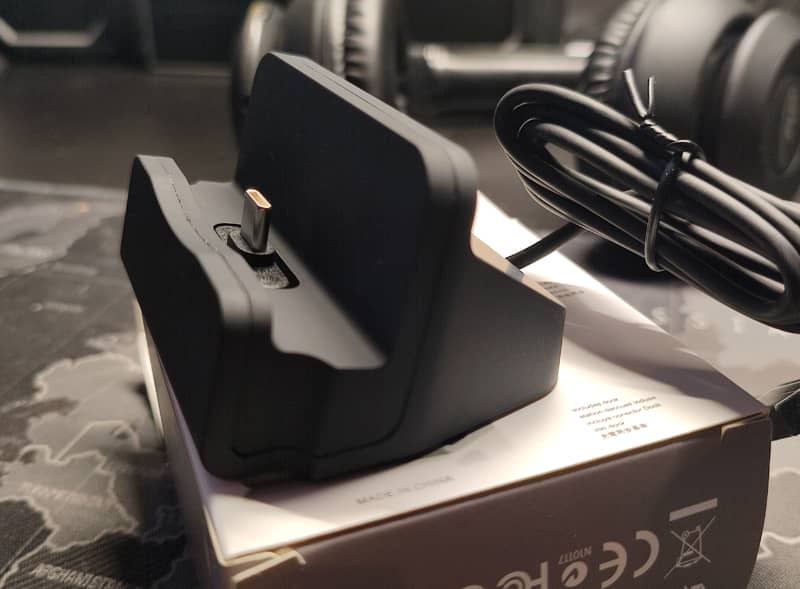
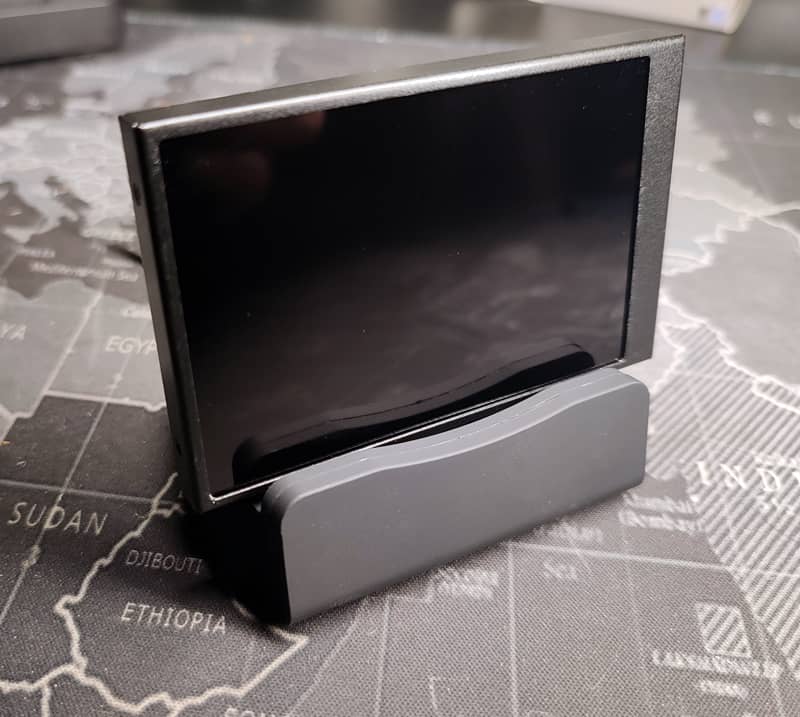
If you choose the option with a stand/dock, what you usually receive is simply a power/charging cable with a small stand featuring a USB-C connector for attaching the screen; the stand has two slots so you can mount it vertically or horizontally.
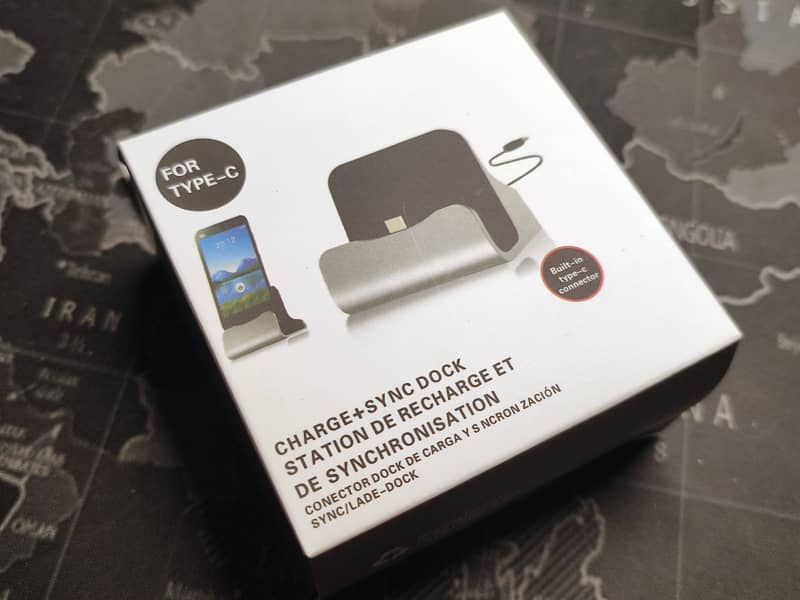
This stand/dock, whilst of average quality, is already more stable and quite a bit better than the flimsy folding plastic one; it can even hold a mobile phone (as the box advertises), but it’s very much a ‘look but don’t touch’ sort of thing when it comes to stability, as the base isn’t large enough to support its weight and height.
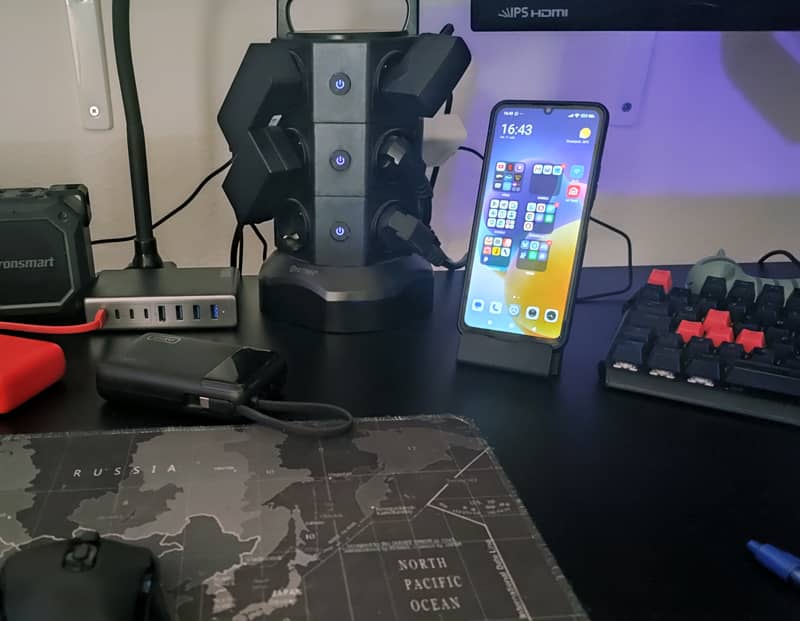
It’s more than enough for use with the little 3.5-inch screen.
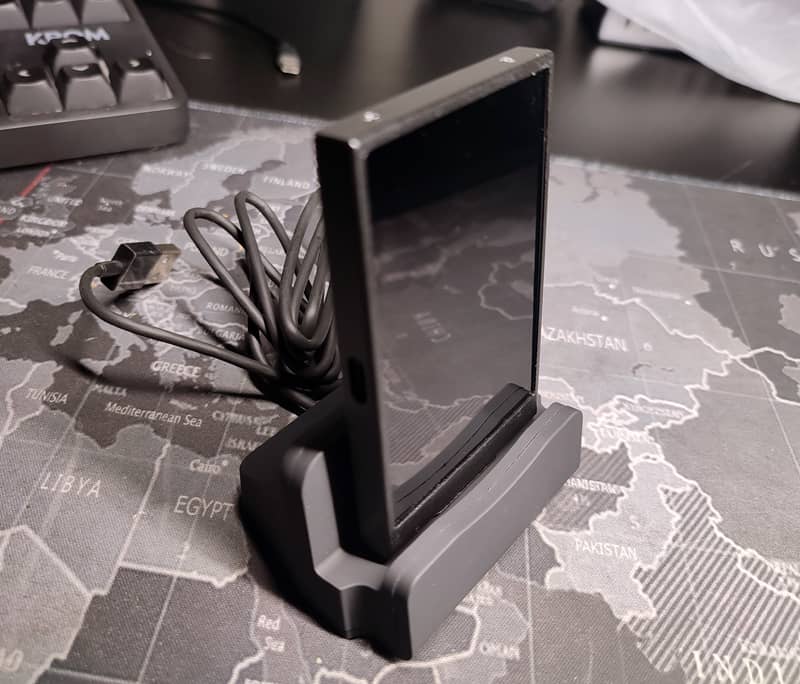
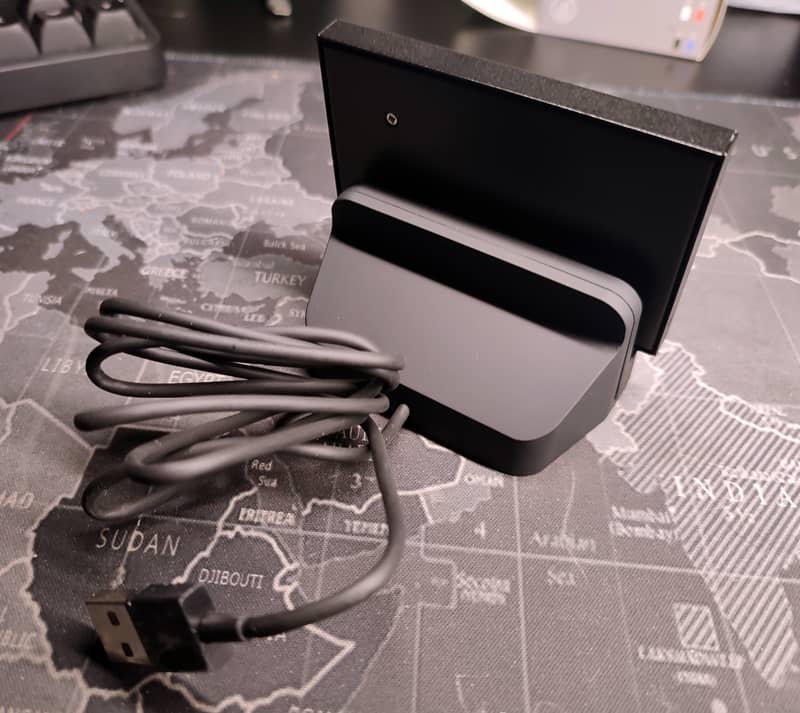
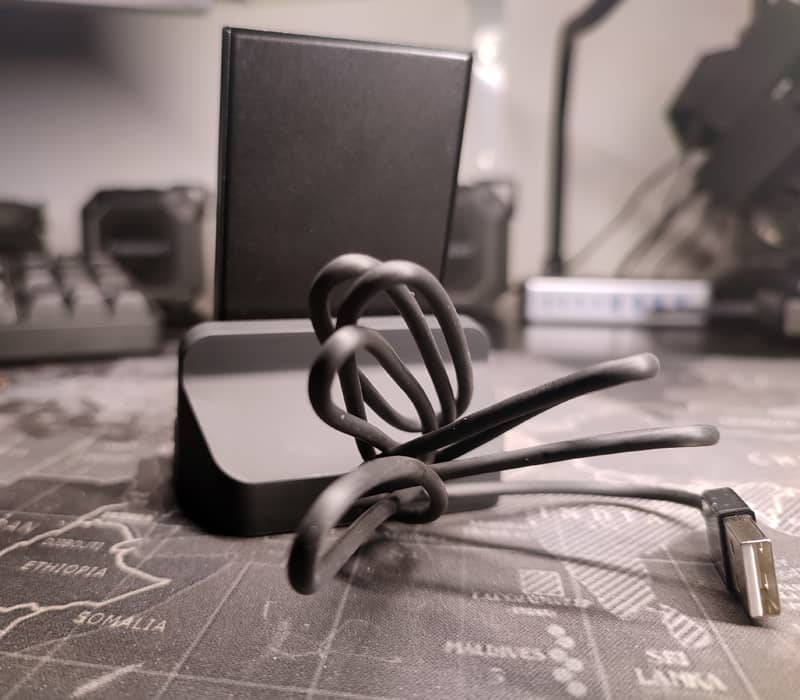
Hardware
I’m surprised there are still people leaving reviews saying things like ‘it’s smaller than I thought’. Perhaps they don’t read the dimensions and tend to think on a grander scale. The visible screen area measures 49 x 74 mm at a resolution of 320 x 480 px, and the overall dimensions are 55 x 85 mm in a metal casing. It’s about 8 mm thick.
The screen has nothing on it apart from the two Type-C connectors and the screws. The overall finish is just about adequate; you can tell straight away by pressing very gently on the screen. You’ll notice that it gives way quite easily.
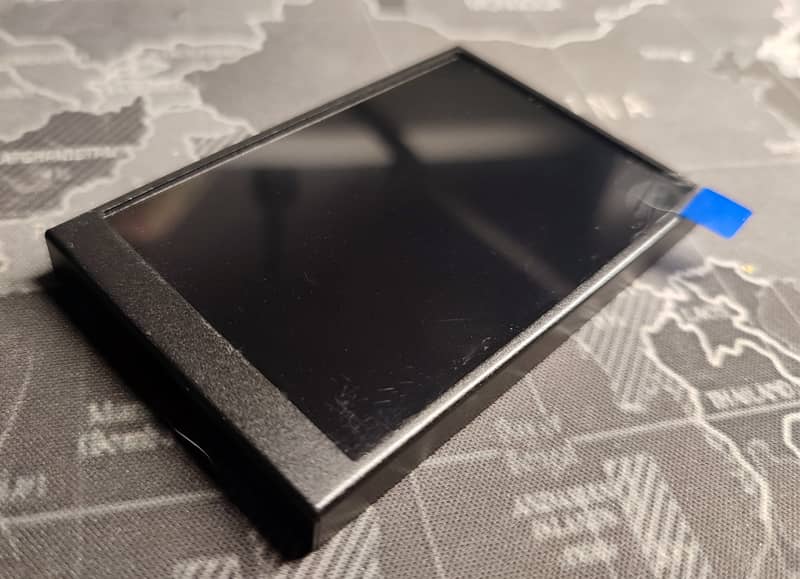
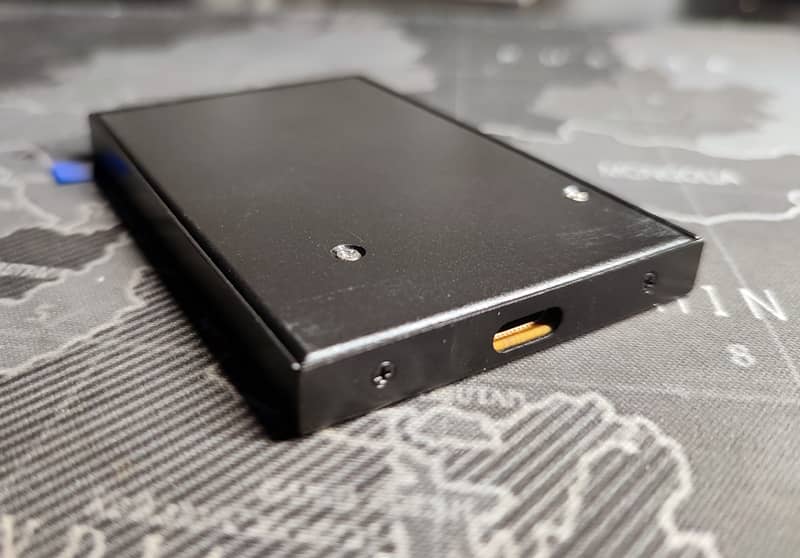
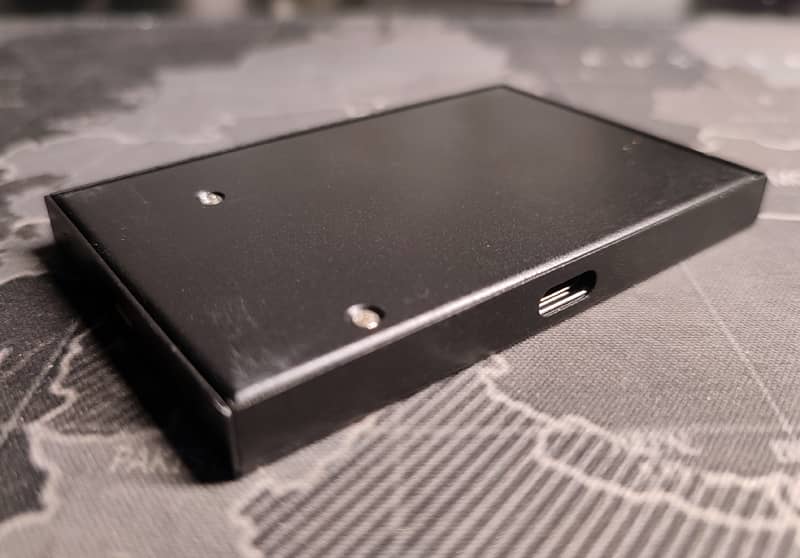
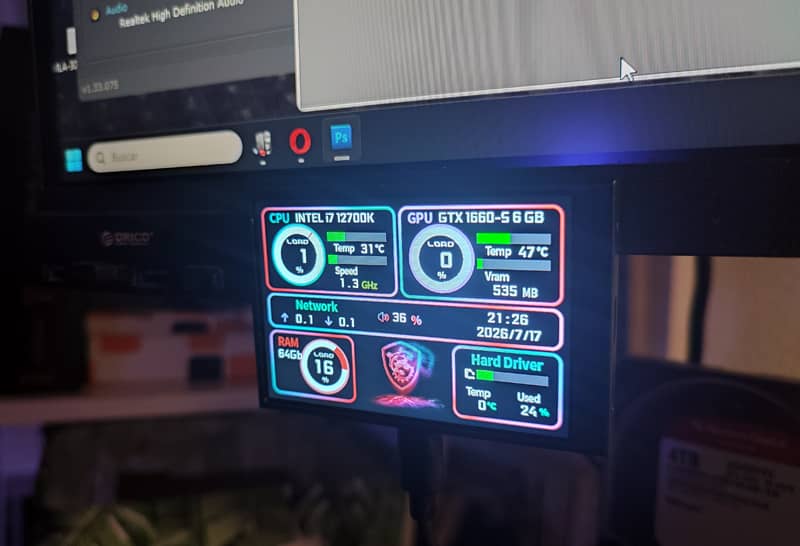
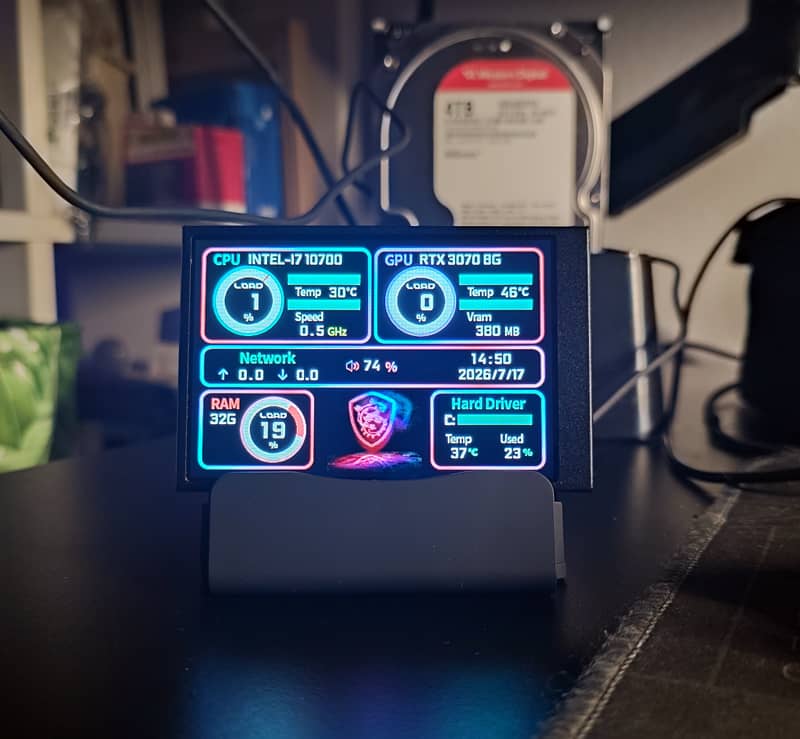
This is how it fits into the bezel of a 29-inch UltraWide monitor.
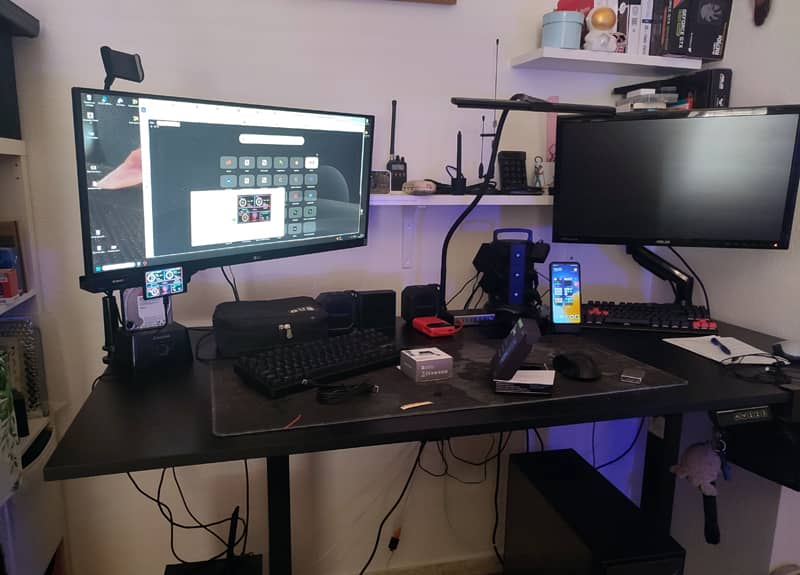
Despite its small size, it looks quite good when placed near the main monitor or on the desk.
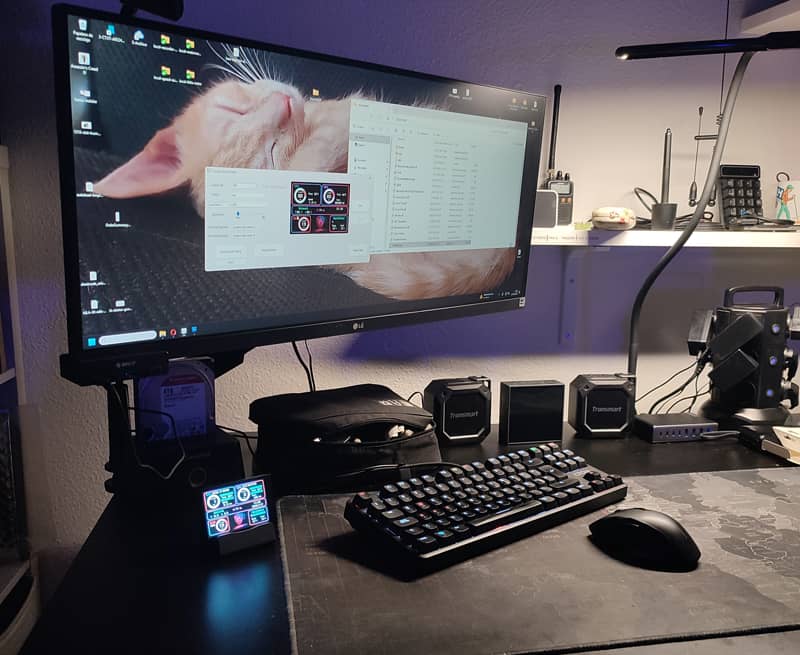
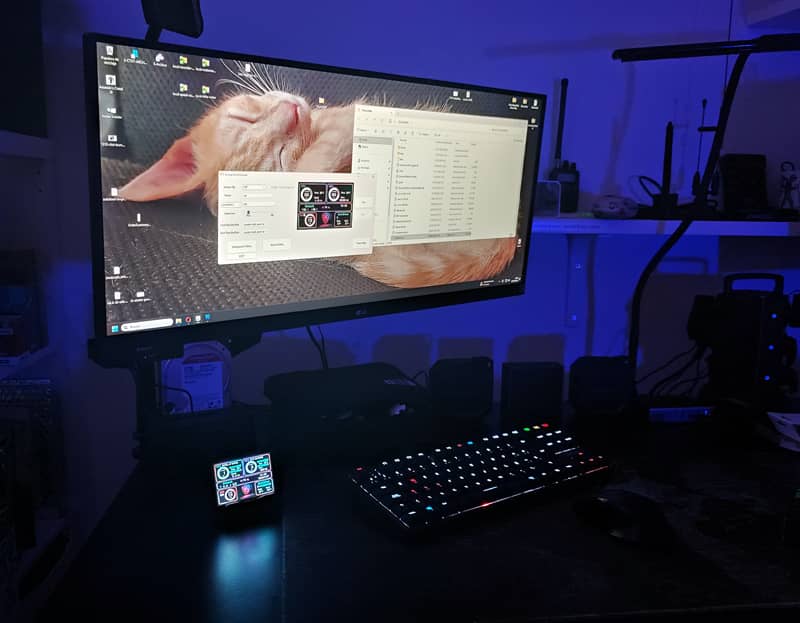
And here it is, mounted on the dock on the table, with and without the light on.
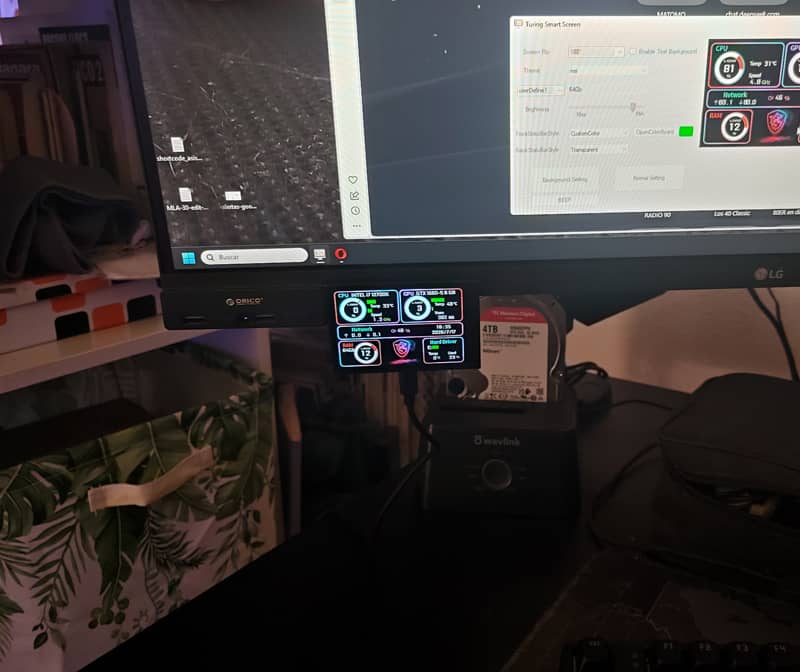
The viewing angle is good from almost any angle and the brightness is generous; even when turned down significantly, it still produces a clear picture, even with dark content.
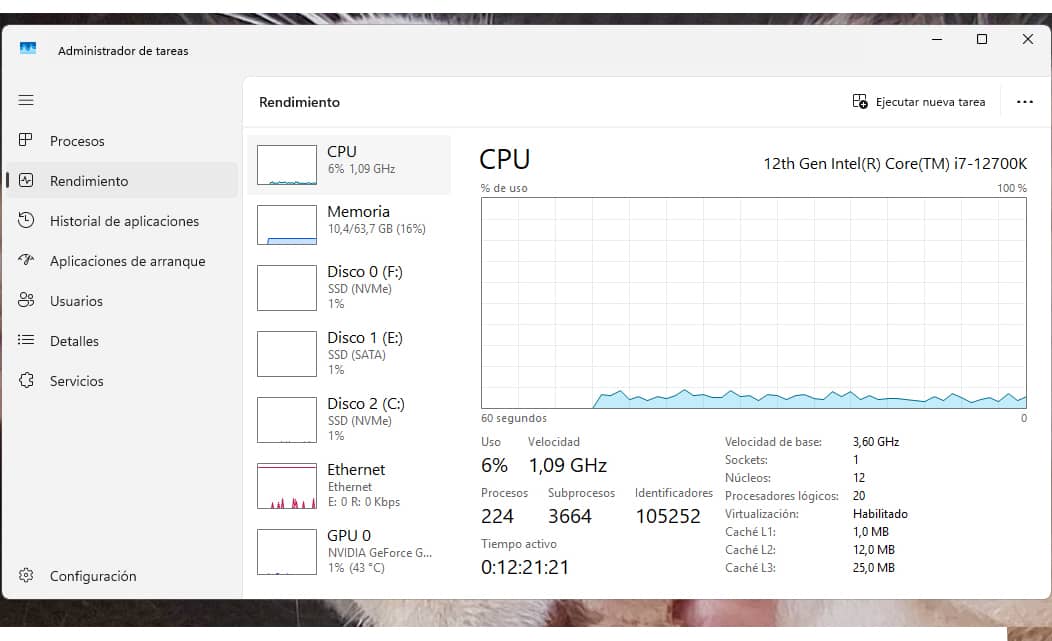
It doesn’t get hot at all, even though we’re already in the thick of yet another heatwave that’s piled on top of the last one. The screen usually displays temperatures quite accurately – give or take a degree above or below what the Task Manager records – but it tends to match Speccy’s data more closely. I’m not sure whether this is down to the time it takes to record and refresh the data, or whether there’s an inherent discrepancy.
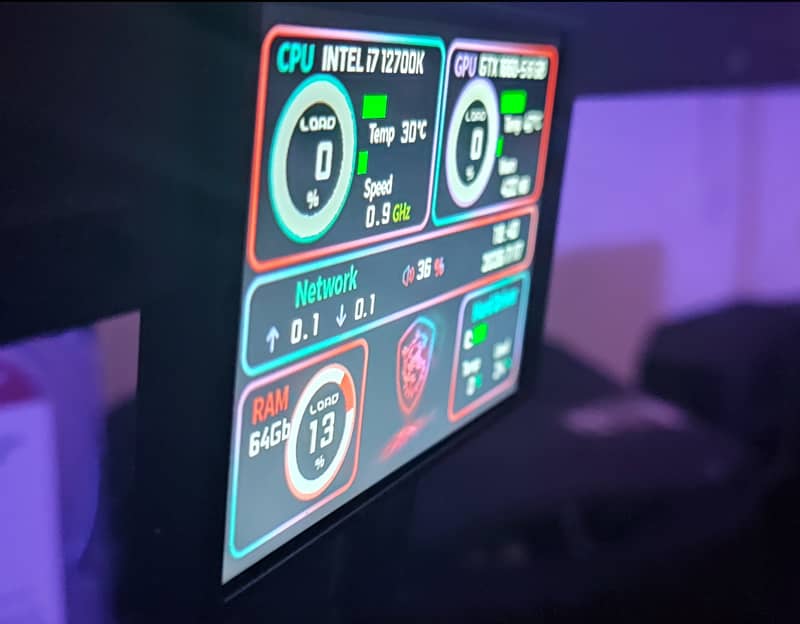
In these two images, you can see what it looks like when placed under the monitor on the desk, with and without the light on.
Software
As for the programmes for adding and configuring templates, you have two options. The first is simpler but has limited functionality, whilst the second is much more comprehensive.
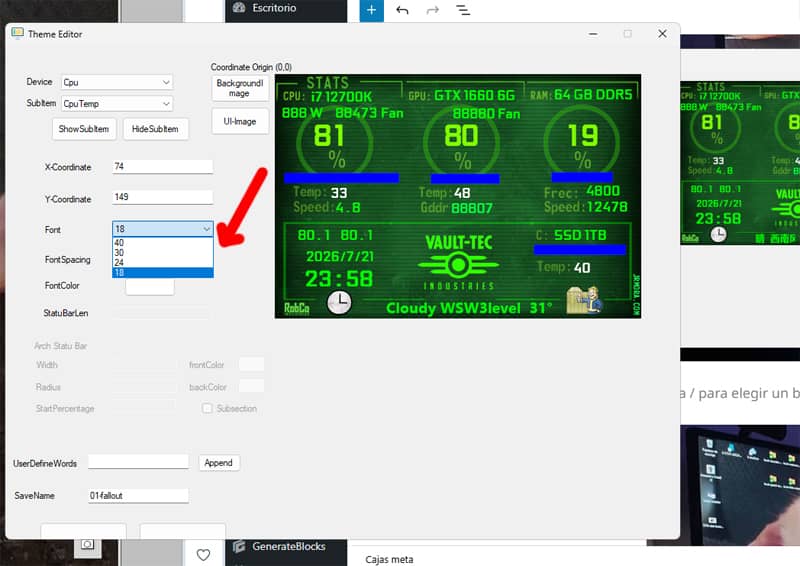
1- USB Monitor. This is the software from TURZX, and it’s the one I’d recommend starting with if you don’t want to overcomplicate things. It’s a programme that looks rather old-fashioned. It’s the most basic and limited, and the most fiddly at first, but at the same time the easiest to use once you get the hang of it. That said, its limitations mean you can’t make the most of the screen’s potential when it comes to reading sensor data. To name a few of these limitations, fonts are restricted to four fixed sizes (40, 30, 24 and 18) and time parameters are displayed on a single line with no option to adjust the formatting or separate them. The system for dragging elements with the mouse isn’t very precise either.
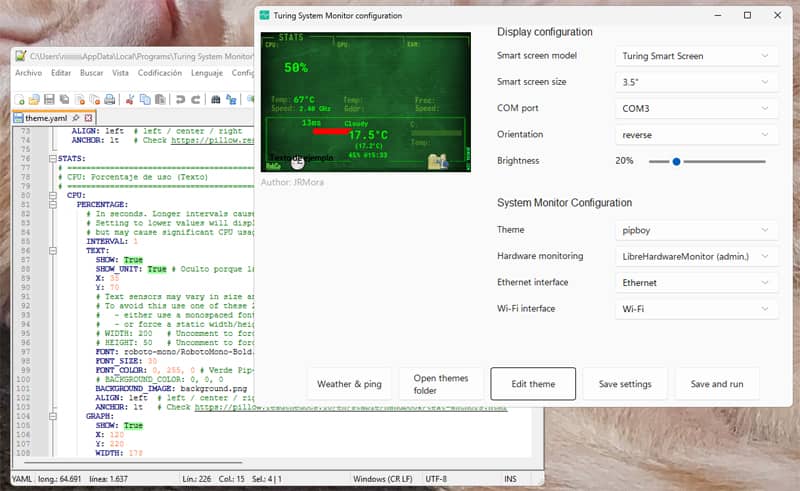
2- Turing Smart Screen Python. (Turing System Monitor) An unofficial Python system monitor and library for screens such as the Turing Smart Screen / TURZX and other brands. Here, if you want to create your own template, don’t expect to be able to configure it with just a couple of clicks; you’ll need to edit the code in the theme.yalm file and enable, disable or adjust each parameter. If you want to use it in developer mode, you’ll need to install Python, its dependencies and Git on your machine, but you can run it on Windows with a slightly more comprehensive interface than in option 1 by simply installing Turing System Monitor.
By using this option, the settings offer many more possibilities, such as the ability to use the OpenWeatherMap API by signing up for the free One Call 3.0 API plan, which, although it is a pay-as-you-go service, offers 1,000 API calls per day free of charge. Turing System Monitor is configured to stay below this limit (approximately 300 calls per day), so you won’t have to pay anything.
It’s the best option both for using templates from the gallery and for creating one from scratch. Everything is explained very clearly in the documentation.
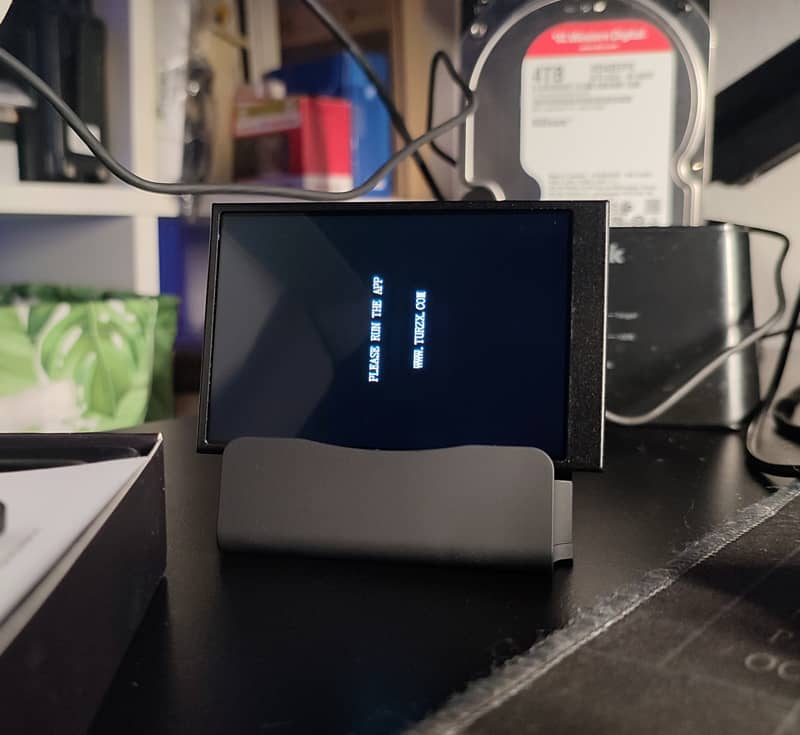
If you choose to start with option 1, all you need to do is plug in the screen, and the first thing you’ll see is the message‘Please run the APP’ and the Turzx website address, from where you can download the version of the USB Monitor software that corresponds to the size of your screen.
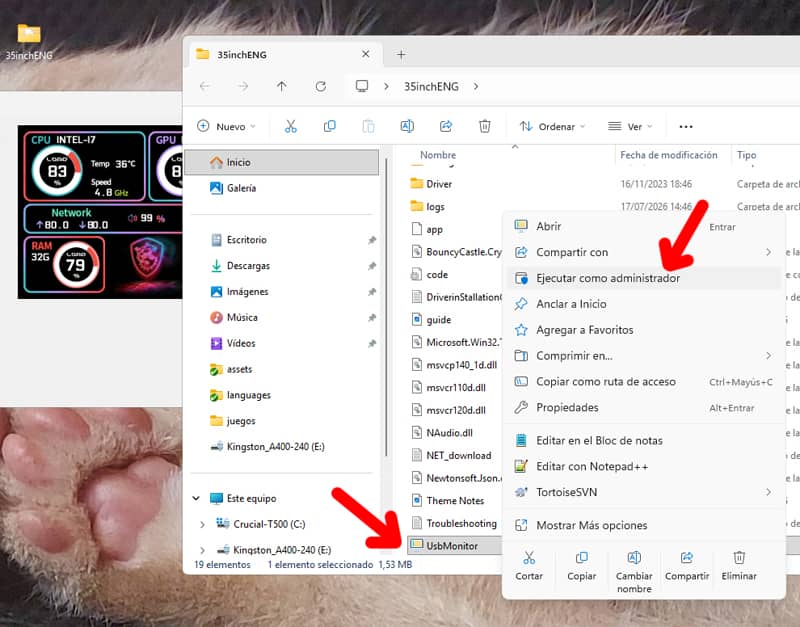
Once you’ve run UseMonitor.exe as an administrator – as the software doesn’t install – select ‘Theme Editor’ and ‘Load Theme’, choose one of the included templates, tweak a few settings, click ‘Run’, and your template will be up and running
Designing a template from scratch
Although there are quite a few user-created templates on the TURZX forum that you can download and use, and there are some other really impressive ones out there, if you have the time and inclination, you can create your own to suit your tastes.
I started by creating this Fallout-style Pip-Boy template in Photoshop, working with a proportional equivalent size of 960 x 640. This is where things get interesting, as the range of options for adding parameters and formats is much more extensive and flexible.
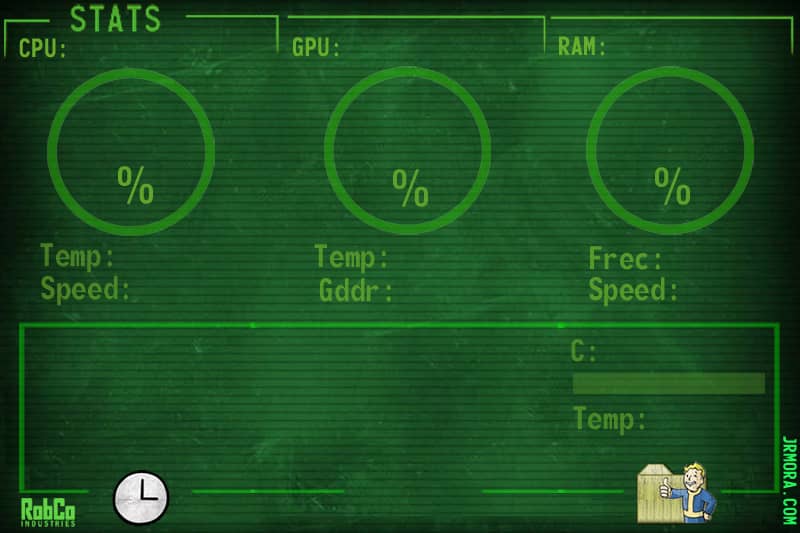
The best approach is to create as many layers as there are elements you’re using, so that you can then adjust their sizes and positions and move them around, whilst also being clear about the exact sizes you need to use for the figures and text you want to display.
To create a new theme for Turing System Monitor (although you can also use the background for a new template in USB Monitor), you do not need to base it on existing themes, as these do not contain all the sensors that can be displayed.
The correct sequence is as follows:
Create a new subfolder in \AppData\Local\Programs\Turing System Monitor\res\themes (or in its path if you have installed it elsewhere) with the name of your theme, and copy and paste the “theme_example.yaml” file, which you will find in the themes folder, into it. Once there, rename it to “theme.yaml”.
Next, copy your PNG resources into the new subfolder. That is, a PNG file containing the background you’re going to use, named background.png, and another identical file named preview.png; the latter is used solely for preview purposes.
To start editing your theme, use the Turing System Monitor’s Theme Editor button.
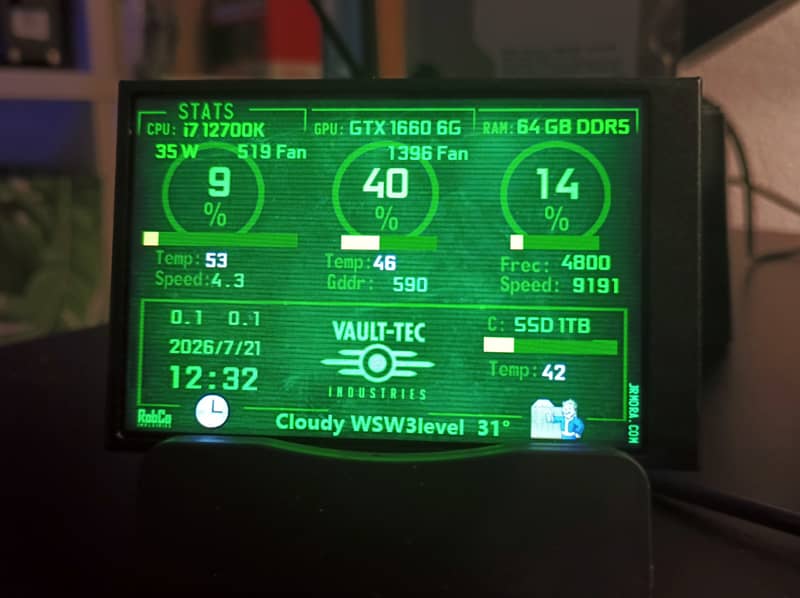
It’s not an easy or quick process. It takes time, so I’m working on it bit by bit. As I haven’t finished it yet, this is what it looks like for now, using only the background in Usb Monitor.
Download the Fallout Pip-Boy .dat template for USB Monitor
If you’d like to try it out, use it or modify it, you can download it here:

I’ve organised the list of all the parameters you can add if you start a template using the example template (theme_example.yaml) in the order in which they appear, as that was the first thing I found myself missing when I started designing my own from scratch.
Configurable parameters
General display settings:
- DISPLAY_SIZE: Screen size in inches
- DISPLAY_ORIENTATION: Screen orientation (vertical: portrait or horizontal: landscape)
- DISPLAY_RGB_LED: Colour of the rear RGB LEDs; I’m not yet sure whether this actually affects the RGB LEDs on the board.
Static images (static_images):
- PATH, X, Y, WIDTH, HEIGHT: File path, position (X and Y coordinates) and dimensions (width and height) of the still images
Static text (static_text):
- TEXT, X, Y, WIDTH, HEIGHT, FONT, FONT_SIZE, FONT_COLOR, BACKGROUND_COLOR, BACKGROUND_IMAGE, ALIGN, ANCHOR: Content, positioning, typography, colours, background and alignment of custom static text
CPU metrics (STATS.CPU):
- INTERVAL: Update frequency in seconds.
- PERCENTAGE (TEXT, GRAPH, RADIAL, LINE_GRAPH): Percentage of CPU usage (as text, a bar chart, a pie chart or a line chart).
- FREQUENCY (TEXT, GRAPH, RADIAL, LINE_GRAPH): CPU clock speed or frequency.
- LOAD (ONE, FIVE, FIFTEEN -> TEXT): System load at 1, 5 and 15 minutes.
- TEMPERATURE (TEXT, GRAPH, RADIAL, LINE_GRAPH): Processor temperature.
- FAN_SPEED (TEXT, GRAPH, RADIAL, LINE_GRAPH): CPU fan speed.
GPU parameters (STATS.GPU):
- INTERVAL: Update frequency in seconds.
- PERCENTAGE (GRAPH, RADIAL, TEXT, LINE_GRAPH): Percentage of graphics card usage.
- MEMORY_PERCENT (GRAPH, RADIAL, TEXT, LINE_GRAPH): Percentage of VRAM in use.
- MEMORY_USED (TEXT): Amount of video memory in use.
- MEMORY_TOTAL (TEXT): Total available video memory.
- TEMPERATURE (TEXT, GRAPH, RADIAL, LINE_GRAPH): GPU temperature.
- FPS (TEXT, GRAPH, RADIAL, LINE_GRAPH): Frames per second (in most cases, the FPS is not displayed).
- FAN_SPEED (TEXT, GRAPH, RADIAL, LINE_GRAPH): GPU fan speed.
- FREQUENCY (TEXT, GRAPH, RADIAL, LINE_GRAPH): GPU frequency.
Memory parameters (STATS.MEMORY):
- INTERVAL: Update frequency in seconds.
- SWAP (GRAPH, RADIAL, LINE_GRAPH): Use of swap memory (SWAP).
- VIRTUAL (GRAPH, RADIAL, LINE_GRAPH): Use of virtual memory.
- USED (TEXT): RAM in use.
- FREE (TEXT): Free RAM.
- TOTAL (TEXT): Total RAM.
- PERCENT_TEXT (TEXT): Percentage of RAM in text format.
Disc parameters (STATS.DISK):
- INTERVAL: Update frequency in seconds
- USED (GRAPH, RADIAL, LINE_GRAPH, TEXT, PERCENT_TEXT): Storage space used
- TOTAL (TEXT): Total disk capacity
- FREE (TEXT): Free disk space
Network parameters (STATS.NET):
- INTERVAL: Update frequency in seconds.
- WLO (WLAN) / ETH (Wi-Fi / Ethernet).
- UPLOAD (TEXT, LINE_GRAPH): Current upload speed.
- UPLOADED (TEXT): Total data uploaded.
- DOWNLOAD (TEXT, LINE_GRAPH): Current download speed.
- DOWNLOADED (TEXT): Total data downloaded.
Date and Time Parameters (STATS.DATE):
- INTERVAL: Update frequency in seconds.
- DAY (TEXT -> FORMAT, SHOW, X, Y, FONT, FONT_SIZE, FONT_COLOR, BACKGROUND_COLOR, BACKGROUND_IMAGE, ALIGN, ANCHOR): Current date and its format.
- HOUR (TEXT -> FORMAT, SHOW, X, Y, FONT, FONT_SIZE, FONT_COLOR, BACKGROUND_COLOR, BACKGROUND_IMAGE, ALIGN, ANCHOR): Current time and its format.
Uptime metrics (STATS.UPTIME):
- INTERVAL: Update frequency in seconds.
- SECONDS (TEXT): Operating time expressed in seconds.
- FORMATTED (TEXT): Operating time formatted as days and hours (e.g. "49 days…").
Weather Parameters (STATS.WEATHER):
- INTERVAL: Update frequency in seconds.
- TEMPERATURE (TEXT): Current outdoor temperature.
- TEMPERATURE_FELT (TEXT): Wind chill.
- UPDATE_TIME (TEXT): Time of the last weather update.
- HUMIDITY (TEXT): Percentage of humidity.
- WEATHER_DESCRIPTION (TEXT): Description of the weather conditions (e.g. sunny, clear, rain).
Ping parameters (STATS.PING):
- INTERVAL: Update frequency in seconds.
- GRAPH, RADIAL, LINE_GRAPH, TEXT: Network latency or ping with the configured server.
Common properties of graphic elements (TEXT, GRAPH, RADIAL, LINE_GRAPH):
- SHOW, SHOW_UNIT, SHOW_TEXT: Show or hide the element, its units or its text
- X, Y, WIDTH, HEIGHT: Position and dimensions.
- FONT, FONT_SIZE, FONT_COLOR, BACKGROUND_COLOR, BACKGROUND_IMAGE: Font styles, colours and backgrounds.
- ALIGN, ANCHOR: Text alignment and anchoring.
- MIN_VALUE, MAX_VALUE: Minimum and maximum values for scales.
- BAR_COLOR, BAR_OUTLINE: Colours and outlines for progress bars.
- ANGLE_START, ANGLE_END, ANGLE_STEPS, ANGLE_SEP, CLOCKWISE, RADIUS: Geometric parameters for circular or radial charts.
- HISTORY_SIZE, AUTOSCALE, LINE_COLOR, LINE_WIDTH, AXIS, AXIS_COLOR, AXIS_FONT, AXIS_FONT_SIZE: Settings for line charts and history charts.
- FORMAT: Date/time format template.
Explanation of display formats (PERCENT_TEXT):
- GRAPH: Displays the data using a bar or block chart that fills in proportion to the current value.
- RADIAL: Displays information in a circular or dial gauge format, ideal for showing percentages or levels that fill a circle.
- LINE_GRAPH: Plots a continuous line graph showing the history or trend of the metric over time.
- TEXT: Displays the value in numerical or plain text form (for example, exact degrees, megabytes used or plain text).
- PERCENT_TEXT: Displays the value specifically in percentage format, accompanied by the percentage symbol (%).
Regarding the X and Y coordinates:
- X and Y are the values that define the exact position of the element on the screen in pixels.
- The X-axis controls the horizontal position: increasing the value moves the element to the right; decreasing it moves it to the left.
- The Y-axis controls the vertical position: increasing the value moves the element downwards; decreasing it moves it upwards.
*This article contains an AliExpress affiliate link*